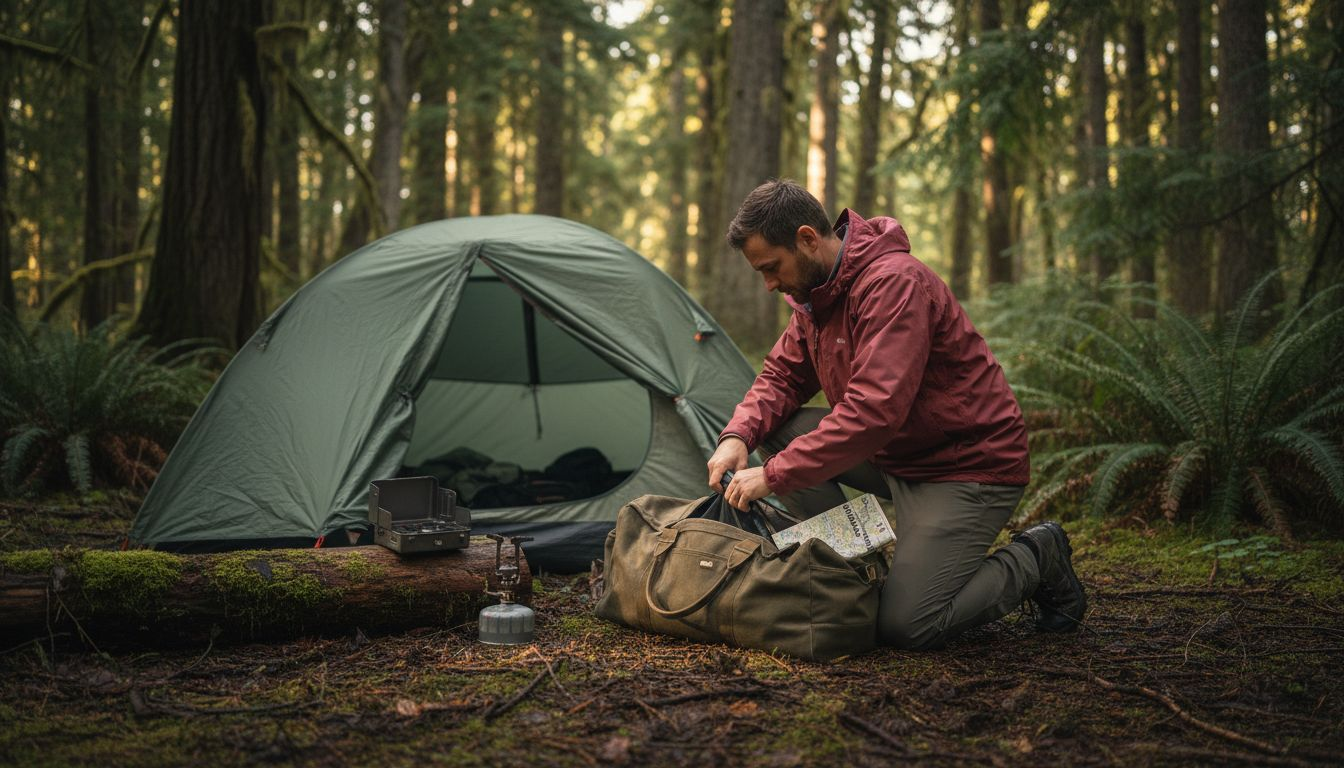
Setting up your first basecamp in the wilds of Washington or Oregon feels like a big step, but it’s the secret that turns exhausting hauls into relaxed weekend adventures. For many Pacific Northwest hikers, the idea of a basecamp comes with plenty of confusion—from thinking it’s a permanent setup to expecting outright luxury. Getting this right means carrying less gear every day and enjoying the trail with more energy and comfort, all while transforming how you explore the region’s rugged beauty. Discover what really makes a basecamp work and how to avoid the most common beginner mistakes by focusing on reducing burden and enhancing both safety and comfort during every trip.
Key Takeaways
| Point | Details |
|---|---|
| Basecamp Purpose | Basecamps serve as strategic home bases in the backcountry, reducing daily pack weight and enhancing comfort during explorations. |
| Common Misconceptions | Basecamps are not permanent dwellings or luxury setups; rather, they require planning and effort to establish effectively. |
| Choosing the Right Setup | Basecamp setups vary based on trip length, group size, and terrain, so select a shelter that aligns with your specific adventure needs. |
| Efficient Setup Process | Establish your basecamp efficiently by scouting locations, setting up shelters first, and organizing your camp space logically to streamline daily routines. |
Basecamp Setup Defined and Misconceptions
A basecamp is your strategic home base in the backcountry. Think of it as a semi-permanent camp you establish to explore remote areas without hauling everything up the trail. It's not a permanent settlement, and it's not where you sleep for every night—it's your operational headquarters.
The core purpose of a basecamp is simple: reduce what you carry on day hikes. Instead of packing your tent, stove, and food for each summit attempt or exploration, you leave them at basecamp. You return each evening with a ready-made shelter, warm meal, and comfortable rest spot waiting.
For Pacific Northwest weekend warriors, this makes a real difference. The Cascades demand respect, and shaving 15-20 pounds off your day pack means more energy for the trail and less strain on your knees on the descent.
Basecamp's core function centers on reducing burden and enhancing both safety and comfort during remote exploration. You're not roughing it more—you're roughing it smarter.Common Misconceptions
Here's where people get confused:
Permanent dwelling myth: Basecamp isn't a cabin you'll live in for weeks. It's a temporary setup you'll abandon when the trip ends.
Luxury resort myth: Don't picture glamping setups. You're still camping—just with less daily pack weight.
No-work myth: Establishing basecamp takes effort. Site selection, water access, bear safety—these require planning.
One-size-fits-all myth: Basecamp looks different for solo hikers, groups, and mountaineers. Your setup depends on your goals.
No-skill myth: Effective basecamp placement requires understanding terrain, weather exposure, and Leave No Trace principles.
A basecamp succeeds when it reduces daily pack weight while keeping you safe, comfortable, and able to return each evening knowing your camp is secure.
The reality is this: basecamps transform how you experience the backcountry. Instead of one exhausting day hike with full gear, you get multiple targeted explorations from a comfortable base. That's the entire point.
Your basecamp doesn't need to be fancy. A good tent location, reliable water source, and organized gear storage—that's all you need to start exploring like an actual wilderness adventurer instead of a tourist.
Pro tip: Scout your basecamp location during daylight on day one, setting up well before dark so you can focus on exploring the next morning without rushing to establish camp.
Types of Basecamp Setups for Hikers
Not all basecamps look the same. Your setup depends on how long you're staying, where you're going, and how many people are coming with you. Understanding your options helps you choose the right system for your Pacific Northwest adventure.
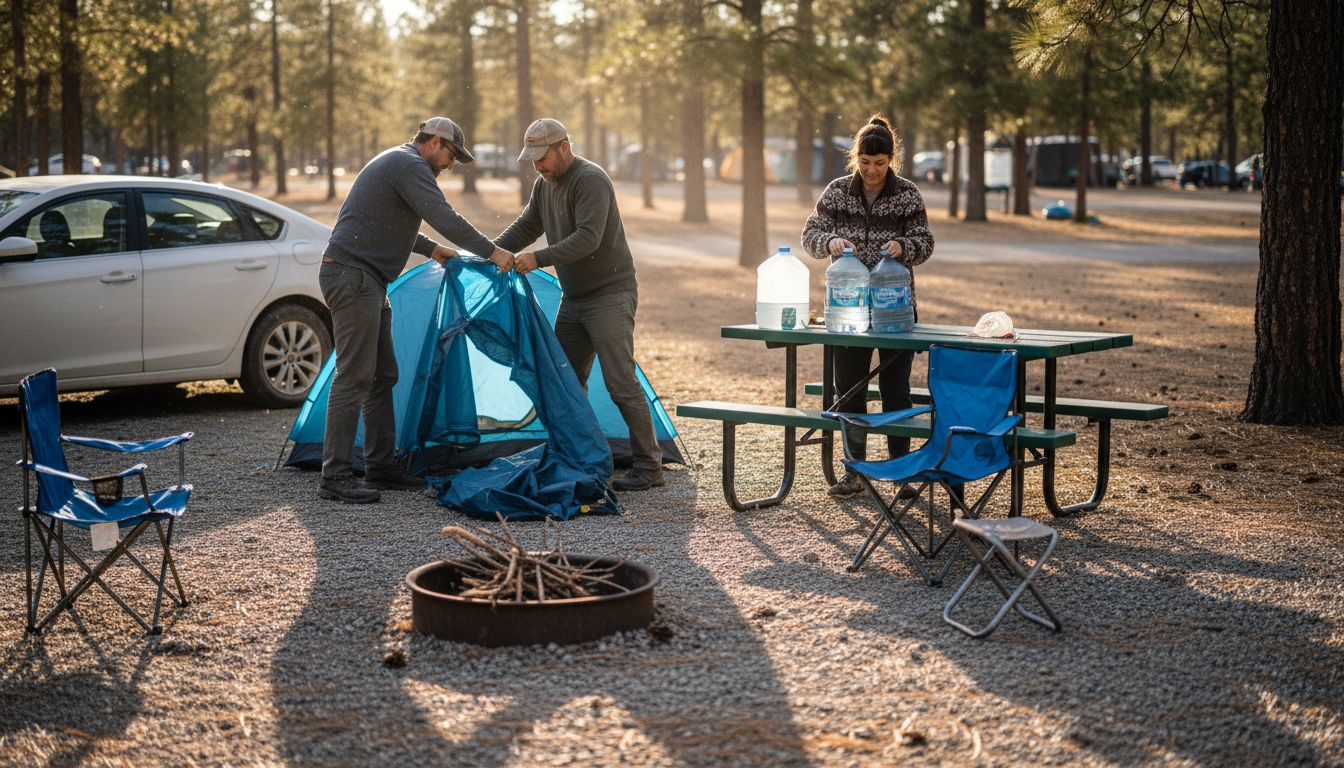
The simplest basecamp uses an established campground as your home base. You drive in, set up once, and take day hikes from there. This works great for families or groups wanting comfort without technical skills. You get picnic tables, water spigots, and maybe even bathrooms.
Wilderness basecamps go deeper. You hike into the backcountry and camp at a remote location for multiple nights. This requires more planning, but rewards you with solitude and access to alpine lakes and peaks most hikers never see.
Common Basecamp Types
Here's what actually works in the field:
Here's a quick comparison of common basecamp shelter types and when to use each:
| Shelter Type | Best For | Key Advantages | Limitations |
|---|---|---|---|
| Lightweight Tent | Solo or pairs, weekend trips | Easy to carry, fast setup | Less protection in storms |
| Dome Tent | Small groups, exposed terrain | Wind resistance, stability | Moderate setup time |
| Canvas/Hybrid Tent | Long trips, harsh weather | Durability, weatherproofing | Heavy, slow to pitch |
| Hybrid Modular System | Custom setups, comfort seekers | Flexible add-ons, versatile | Cost, complexity |
| Vehicle-Based Camp | Car access, larger groups | Maximum comfort, amenities | Limited by access roads |
Lightweight backpacking setup: A single tent that serves double duty as both your traveling shelter and basecamp. Fast to establish, weighs under five pounds. Best for solo hikers or pairs.
Canvas or canvas-hybrid tent: Heavier but incredibly durable in harsh weather. Takes longer to set up but handles wind, rain, and snow better than nylon. Popular with mountaineers tackling multi-week expeditions.
Dome tent basecamp: Superior wind and weather resistance from the dome shape. Offers good interior space without the weight penalty of canvas. Most reliable for exposed alpine locations.
Hybrid modular systems: Lightweight frames with custom add-ons like insulated floors, stove jacks, or vestibules. Basecamp setup options now include these expandable shelters designed for comfort without sacrificing portability.
Vehicle-based basecamp: RV, truck bed, or car camping where the vehicle IS your shelter. Ideal for accessible locations and groups wanting maximum comfort.
Matching Your Setup to Reality
Here's what matters when choosing:
Trip length: Weekend trips favor lightweight tents. Week-long expeditions justify heavier canvas systems.
Group size: Solo hikers use one-person tents. Groups of six benefit from larger frame tents or multiple smaller shelters.
Terrain and climate: Exposed ridges need dome tents for wind protection. Protected valleys work fine with lightweight options.
Accessibility: Can you drive to the site? Vehicle-based camps work. Remote wilderness? Pack a lightweight system.
The best basecamp isn't the fanciest—it's the one you'll actually use consistently and maintain through your trip.
Your Pacific Northwest basecamp doesn't need to be elaborate. Match the shelter type to your actual conditions, group size, and how many nights you're staying. That's the formula.
Pro tip: Match your tent type to your typical conditions before buying—a dome tent designed for exposed ridges won't make sense if you're camping in sheltered valleys where weight matters more than wind resistance.
Essential Steps for Efficient Basecamp Setup
Setting up basecamp efficiently saves time, reduces frustration, and sets you up for successful exploration. The difference between a chaotic camp and an organized one often comes down to following a logical sequence. You're not just pitching a tent—you're establishing operations.
Start with location scouting before you touch your gear. Spend 15-20 minutes walking the area with fresh eyes. Look for level ground, water access within reasonable distance, and natural wind breaks. Avoid creek bottoms where cold air settles and wind channels tunnel through.
Once you've chosen your spot, set up your shelter first. This is your priority one. A secure tent gives you a safe place to retreat if weather turns bad. Stake it down properly—don't skip the corners just because it looks calm right now.
Use this summary to streamline your basecamp setup:
| Setup Step | Purpose | Time Needed |
|---|---|---|
| Scout Camp Location | Find safest, most comfortable area | 15-20 minutes |
| Shelter Setup | Secure home base from weather | 10-20 minutes |
| Gear Organization | Prevent loss and streamline routines | 10 minutes |
| Establish Cooking Area | Ensure safe meals, reduce wildlife risk | 5-10 minutes |
| Set Up Water System | Safe hydration with easy access | 5-10 minutes |
| Final Adjustments | Double-check security and efficiency | 5-10 minutes |
The Setup Sequence That Works
Follow this order to avoid wasted effort:
- Scout and select your camp location away from water sources and wildlife travel routes
- Level the ground and clear debris, rocks, and sticks that could puncture your tent floor
- Pitch your tent and fully stake it down with all guy lines secured
- Organize your gear into logical zones: sleeping gear in one area, cooking in another, bear-proof storage nearby
- Establish your water source and cooking station at safe distance from sleeping quarters
- Create a designated pack storage area to keep equipment organized and accessible
Organizing Your Camp Space
Territorial zones prevent chaos and improve safety:
Sleeping zone: Your tent and sleeping pads. Keep this clean and free from food or cooking equipment.
Cooking and eating zone: Your stove, fuel, food, and eating utensils. Position downwind from your tent.
Water source: The farthest area from camp. Mark your path clearly so you don't contaminate the water.
Gear storage: A designated spot for backpacks, extra clothing, and equipment. Use bear canisters or hang bags properly.
Efficiency at basecamp comes from thinking through the daily routine before you set up—where you'll cook breakfast, where you'll filter water, where you'll sleep—then arranging everything to support that flow.
Effective setup takes 45 minutes to an hour if you're organized. Don't rush this. A well-organized basecamp means you can focus on planning your daily hiking and cooking strategy instead of constantly searching for gear.
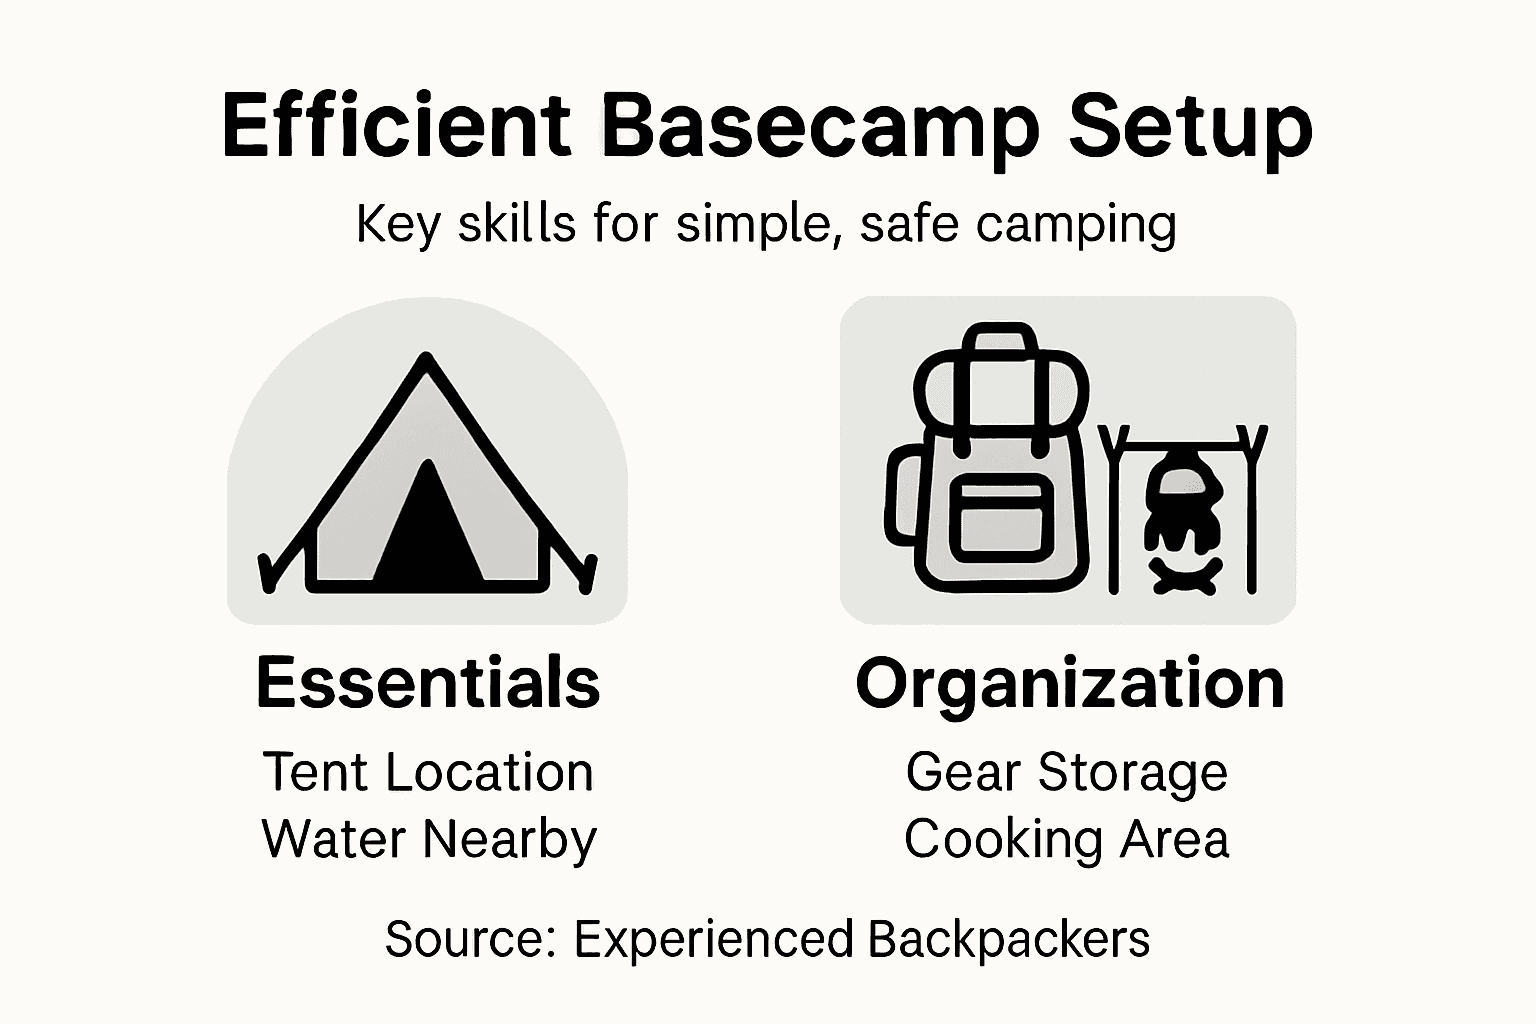
Your basecamp efficiency multiplies over multiple days. What takes an hour on day one pays dividends on days two, three, and four when you already know exactly where everything belongs.
Pro tip: Set up your camp with at least two hours of daylight remaining so you can see what you're doing and make adjustments before dark—rushing a basecamp setup in failing light leads to mistakes and frustration.
Common Mistakes and How to Avoid Them
Even experienced hikers make predictable mistakes when setting up basecamp. The good news? Most are completely preventable if you know what to watch for. Learning from others' errors saves you pain, money, and potentially dangerous situations.
The biggest mistake is overpacking. Hikers load their packs with items they think they might need, then wonder why their shoulders are screaming at mile three. Every extra pound compounds over multiple days. Your basecamp reduces this burden only if you actually leave gear there.
Another common error is picking a terrible camp location in fading light. You're tired, it's getting dark, and that spot looks flat enough. Wrong move. Bad locations lead to cold camps, wind exposure, and water running under your tent when it rains.
Underestimating your body's needs creates real problems. People skip meals, ignore thirst, and push through fatigue thinking they'll be fine. Altitude sickness and physical conditioning matter, even on lower elevation Pacific Northwest trips where the elevation gain is substantial.
Mistakes That Create Real Problems
Here's what actually goes wrong:
Inadequate water planning: Assuming you'll find water when you get there. Scout water before dark. Carry enough to reach your next source.
Skipping rest days: Pushing hard every day without breaks. Your body needs recovery. Schedule at least one rest day per week.
Poor food rationing: Eating most of your food in the first two days because you didn't plan portions. Pack measured amounts in separate bags.
Ignoring weather signs: Dismissing cloud formations and wind shifts that signal incoming storms. Set up before conditions deteriorate.
Inadequate physical training: Starting a multi-day trip without conditioning your body first. Training prevents injury and makes the experience enjoyable.
Not testing gear beforehand: Discovering your stove doesn't work or your tent has a leak at basecamp. Test everything at home.
The difference between a successful trip and a miserable one often comes down to decisions you made before you left your driveway—physical preparation, gear testing, and realistic itineraries.
Prevention beats problem-solving in the backcountry. You can't call someone for help. You can't run to a store. What you bring and how you prepare is what you've got.
Pro tip: Do a full shakedown hike with all your gear and basecamp setup at least once before your actual trip—this catches problems early and builds confidence in your system.
Gear Up for Smart Basecamp Setup and Efficient Camping
Setting up a basecamp takes careful planning to reduce pack weight, stay comfortable, and keep safe. Many hikers face challenges like finding reliable shelter, organizing gear zones, and choosing the right system for their trip length and terrain. Concepts like lightweight tents, dome shelters, and modular setups matter, but having quality gear designed specifically for basecamp use makes all the difference.
Elevate your basecamp experience with Life Camp Adventure. Our collection of durable tents, organized storage solutions, and essential camping equipment supports every step from site scouting to cooking setup. Don't let poor gear weigh you down or complicate your setup. Visit Life Camp Adventure now to explore gear that matches your trip style and helps you camp smarter. Prepare today so you can focus on exploring tomorrow.
Frequently Asked Questions
What is a basecamp in outdoor camping?
A basecamp is a semi-permanent camp established in the backcountry that serves as your operational headquarters. It allows you to explore remote areas without carrying all your gear each day, returning to a ready-made shelter each evening.
How do I choose the right location for my basecamp?
Select a site that offers level ground, access to water nearby, and natural wind breaks. Avoid areas like creek bottoms where cold air settles. Spend time scouting before setting up your camp.
What are the common types of basecamp setups for hikers?
Common basecamp setups include lightweight tents for solo hikers, dome tents for small groups, canvas tents for harsh weather, hybrid modular systems for customizable comfort, and vehicle-based camps for maximum amenities.
What are some mistakes to avoid when setting up a basecamp?
Common mistakes include overpacking, choosing poor camp locations, inadequate water planning, ignoring rest days, and not testing gear beforehand. Proper preparation and planning can help prevent these issues.
