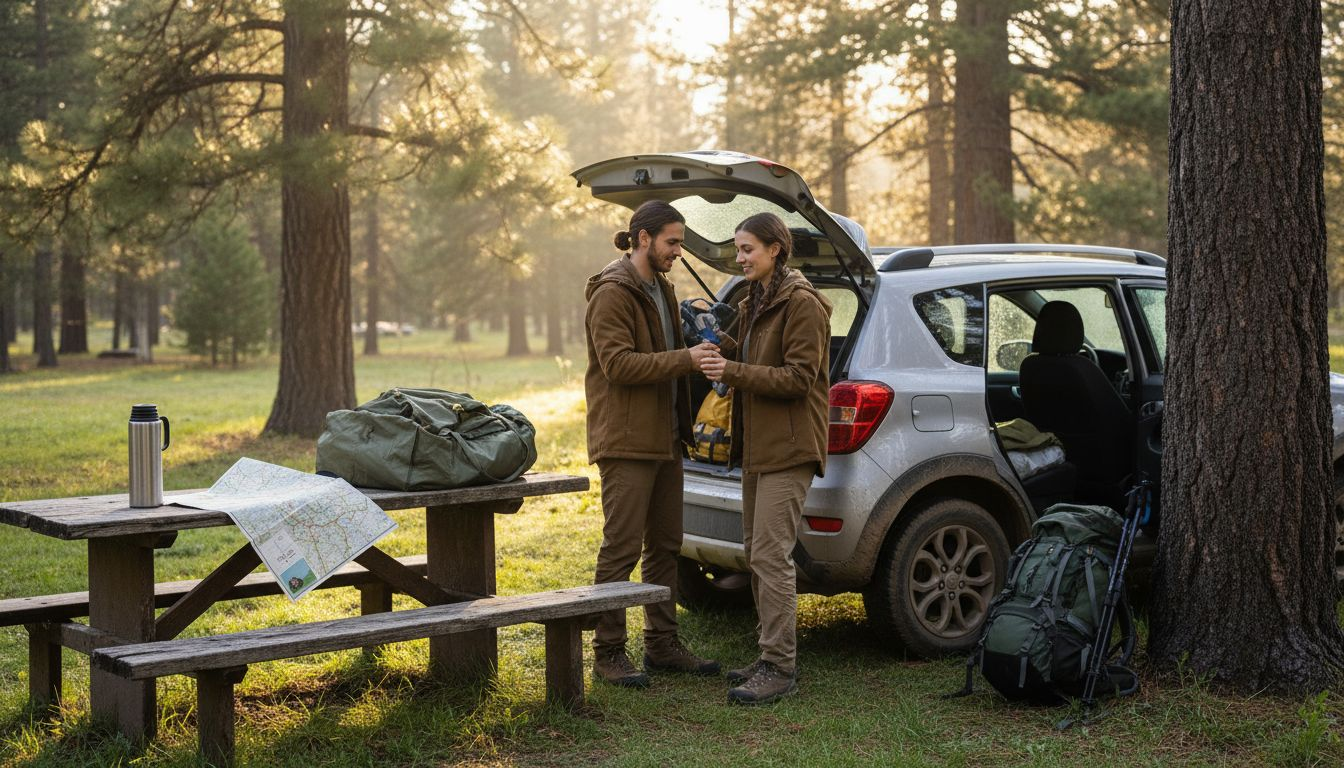
For many urban Americans, escaping city noise for a peaceful weekend outdoors sounds refreshing, but picking the best campsite can seem overwhelming. The comfort of your first camping trip depends on what location you choose, the gear you bring, and your meal plans. With practical steps on campground site selection, beginner-friendly equipment, simple food prep strategies, and safety tips, you can turn uncertainty into a relaxing outdoor getaway—without stressful surprises.
Quick Summary
| Key Point | Explanation |
|---|---|
| 1. Choose Accessible Campsites | Select locations based on accessibility and necessary amenities. Make sure it aligns with your comfort level for a more enjoyable experience. |
| 2. Prioritize Essential Camping Gear | Bring critical items like a quality tent, sleeping bag, and first aid kit to ensure safety and comfort during your trip. |
| 3. Plan Easy Camp Meals | Create simple meal options in advance, focusing on minimal ingredients and straightforward preparation to reduce cooking stress while camping. |
| 4. Organize Campsite Layout Effectively | Set up distinct zones for sleeping, cooking, and relaxation to prevent accidents and make your campsite more functional and enjoyable. |
| 5. Conduct Safety Checks Before Nightfall | Inspect your campsite for hazards and verify gear arrangements. Ensuring everything is secure helps prevent discomfort and accidents after dark. |
Step 1: Choose the Right Campsite and Date
Choosing where and when to camp shapes your entire experience. A great campsite with good timing can mean the difference between a relaxing weekend and a frustrating scramble through uncomfortable conditions. This step helps you identify locations that match your skill level and schedule, ensuring your first camping trip feels manageable and enjoyable.
Start by thinking about accessibility and what features matter most to you. Are you looking for a place close to home to minimize drive time, or are you willing to travel farther for a specific landscape? Consider whether you want amenities like bathrooms, water sources, and parking nearby, or if you're comfortable with a more remote setup. When evaluating potential campsites, pay attention to essential site selection factors such as level ground for your tent, proximity to water, and shelter from wind. The terrain matters more than you might think. Uneven ground will keep you awake all night, while a site tucked behind trees or natural barriers protects you from unexpected weather and wind gusts.
Now think about timing. Your first camping trip should avoid peak seasons when campgrounds overflow with crowds and sites disappear quickly. Late spring or early fall typically offers the sweet spot: cooler temperatures than summer, fewer insects than mid-season, and less crowded facilities. Check weather patterns for your chosen region during your intended dates. Sudden rain or extreme heat can ruin an inexperienced camper's trip, so build in flexibility if possible. Many campers book their sites 2-3 months in advance during popular periods, so plan accordingly. Beyond just the date, consider what day of the week you're going. Weekdays often provide quieter, more spacious camping experiences with better site selection, while weekends bring crowds but also more activity if you're looking for community interaction.
When you've narrowed down your location and dates, verify that the campground matches your comfort level. Call ahead or check their website for details about site privacy, elevation changes, and access points. Ask whether the ground tends to stay dry during your visit dates, especially if rain is forecasted. Talk to staff about which sites beginners typically enjoy and which ones experienced campers prefer. This information helps you avoid frustration and sets realistic expectations for your experience.
Here's a comparison of common campsite types and their suitability for beginners:
| Campsite Type | Location Accessibility | Amenities Available | Beginner Suitability |
|---|---|---|---|
| Developed Campground | Near roads, easy access | Restrooms, water, parking | Highly recommended |
| State/National Park | Varies by park | Varies (some basic, some full) | Good choice for most beginners |
| Remote Backcountry | Requires hiking in | Very limited or none | Challenging, not ideal |
| Private Property | Depends on owner policy | Could be full or very basic | Good if amenities match needs |
Pro tip: Reserve your site early on a Tuesday or Wednesday morning when cancellations become available, and always confirm accessibility features match your actual needs before arrival.
Step 2: Gather Essential Gear and Supplies
This step is where your camping trip becomes real. You'll assemble everything you need to sleep comfortably, stay safe, and handle unexpected situations. Getting gear right from the start prevents frustration and keeps you focused on enjoying the outdoors rather than managing avoidable problems.
Start with shelter and sleep systems, which are your foundation for any camping experience. A quality tent rated for the season you're visiting protects you from wind, rain, and insects while providing a secure sleeping space. Pair this with a sleeping bag rated for temperatures lower than your destination's expected low, and add a sleeping pad for insulation and comfort. Many beginners skip the sleeping pad thinking they can rough it on the ground, then spend the night shivering because ground temperatures drop significantly after sunset. Your bedding setup shouldn't be an afterthought. Next, tackle cooking and food storage. A camping stove or campfire setup lets you prepare hot meals, while proper containers keep food fresh and protected from animals. Include basic cooking tools like a pan, utensils, and a way to heat water for coffee or tea. Don't forget plates, cups, and a way to clean dishes afterward. The small comforts of warm food and hot beverages make enormous differences in your overall experience.
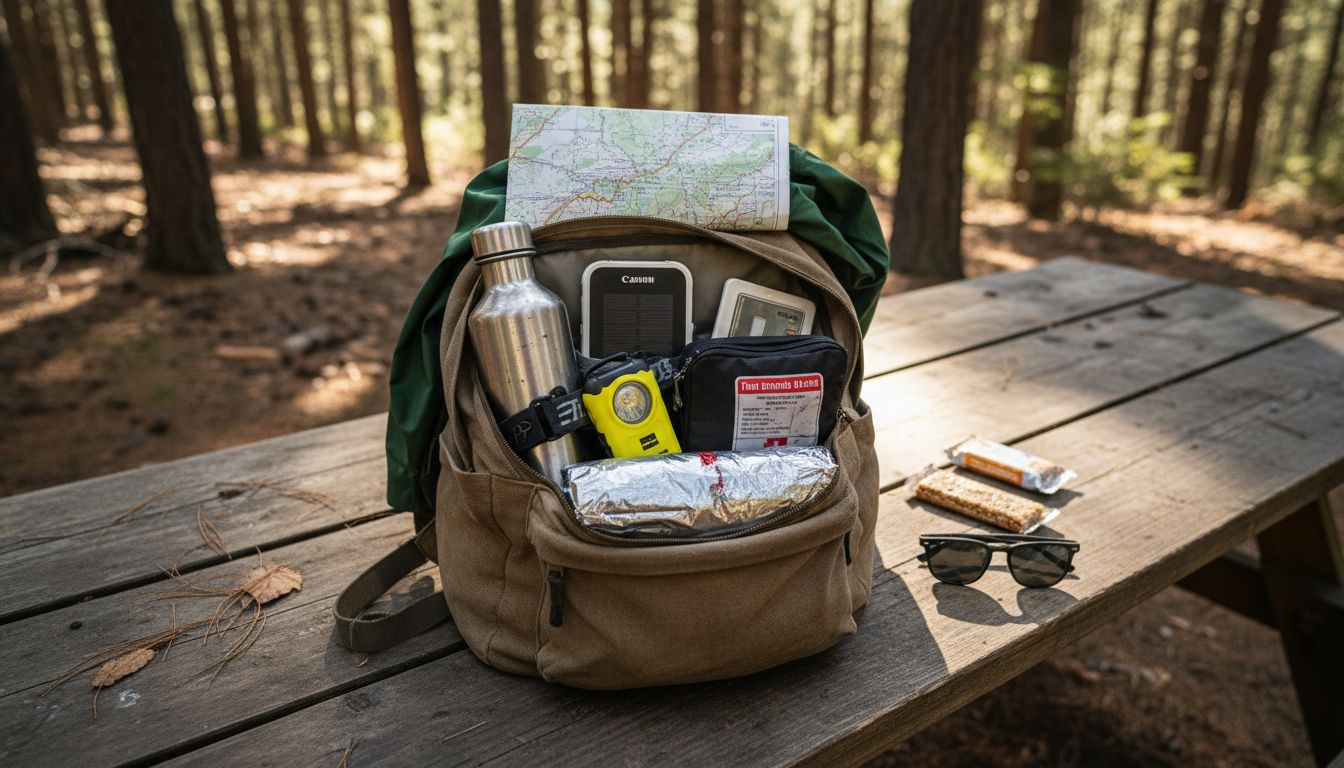
Now consider lighting, navigation, and safety gear. A reliable flashlight or headlamp keeps you mobile after dark, while a map and compass help you understand your surroundings. Understanding why survival gear matters for camping trips ensures you're prepared for minor emergencies like blisters, insect bites, or unexpected temperature drops. Pack a first aid kit, extra layers for warmth, and sun protection including sunscreen and a hat. Include water containers to stay hydrated throughout the day. Clothing deserves special attention. Bring moisture wicking layers that dry quickly, a warm fleece or insulated jacket, and rain gear. Cotton absorbs moisture and stays wet, making you cold fast. Multiple layers let you adjust to temperature changes throughout the day and night. Don't underestimate how cold it gets after sunset, even in summer months. Finally, bring items that make camping more enjoyable. A camp chair lets you relax comfortably around the fire, a notebook helps you record observations, and entertainment like cards or books fills downtime during bad weather.
Before you buy everything new, consider renting or borrowing gear for your first trip. This approach lets you test what works for you without spending hundreds of dollars upfront. Once you discover your preferences and camping style, you can invest in quality gear that matches your actual needs. Check weight and pack size carefully, especially if you're hiking to your campsite. Your back will thank you for paying attention to these details. Organization matters too. Keep similar items together in separate bags or containers so you can find things quickly without dumping your entire pack.
Use this quick gear reference to prioritize essential items for a comfortable first camping trip:
| Gear Category | Must-Have Item | Why It's Essential | Pro Tip |
|---|---|---|---|
| Shelter | Season-appropriate tent | Protects from weather and insects | Practice setup at home |
| Sleep System | Warm sleeping bag | Maintains body heat overnight | Choose lower rated temperature |
| Kitchen | Portable stove | Enables hot meals and coffee | Test fuel supply beforehand |
| Safety | First aid kit | Handles minor emergencies | Include blister pads and meds |
Pro tip: Invest in a quality sleeping bag and tent first since these directly impact your comfort and safety, then gradually add other gear over multiple trips as you discover what you actually need versus what seems nice to have.
Step 3: Plan and Prep Easy Camp Meals
Camp meals don't need to be complicated. This step helps you design simple, satisfying meals that you can prepare at home or quickly at your campsite without stress. Smart meal planning transforms cooking from a chore into one of the best parts of your camping experience.
Start by choosing recipes with minimal ingredients and straightforward preparation. One-pot meals and foil packet dinners are ideal because they require less equipment and cleanup while delivering warm, nourishing food. Think pasta dishes, chili, stir-fries, or breakfast burritos that you can assemble before your trip. Breakfast burritos are particularly smart because you prepare them at home, wrap them in foil, and simply reheat them at camp. Overnight oats work similarly, requiring only cold preparation and no cooking at all. Consider your campsite's cooking capabilities when selecting recipes. Do you have a portable stove, access to a campfire, or only a small gas grill? Choose meals that match your actual setup rather than shopping for recipes that require equipment you won't have. A camping meal plan should account for limited refrigeration. Pack foods that don't require extensive cooling, or plan meals for your first day or two that use perishables, then shift to shelf stable ingredients as your cooler warms up. Canned beans, pasta, rice, and dried vegetables last indefinitely and cook easily over a camp stove.
Now think about preparation timing. Prepping at home saves enormous effort at your campsite when you're tired and just want to relax. Chop vegetables, marinate proteins, and portion out ingredients into containers or bags before you leave. Label everything clearly so you know exactly what goes where. Pack your food strategically in your cooler or storage containers, keeping frequently used items accessible and heavier items on the bottom. Create a simple meal timeline for your trip so you know what you're cooking each day without having to think about it. This prevents decision fatigue and ensures you bring the right ingredients. Don't forget about snacks and hydration. Trail mix, granola bars, fruit, and nuts keep energy up between meals, while plenty of drinking water prevents dehydration. Many beginners underestimate how much water they need at elevation or in hot weather.
Consider nutrition balance alongside convenience. Meals with protein, vegetables, and carbohydrates keep you satisfied and energized for outdoor activities. A camping meal plan balanced for nutrition and convenience helps you avoid the quick-but-empty-calorie trap of relying only on processed snacks and energy bars. Pack coffee or tea if that matters to you, because nothing ruins a camping morning quite like missing your favorite hot beverage. The campfire experience also means you can grill simple items like hot dogs, hamburgers, or fresh fish if you're so inclined. Keep your first camping trip meal plans simple enough that cooking doesn't stress you out. You're there to enjoy nature, not spend hours managing complicated recipes. As you gain confidence and experience, you can experiment with more elaborate camp cooking.
Pro tip: Prep and freeze meals at home in individual portions, then pack them directly in your cooler where they thaw gradually and keep other food cold while reducing ice needs.
Step 4: Set Up Your Campsite Efficiently
How you organize your campsite determines your comfort and safety throughout your trip. This step walks you through creating a functional camp layout that keeps sleeping, cooking, and relaxation areas separated and accessible. A well-organized campsite prevents accidents, protects your food, and makes everything feel less chaotic.
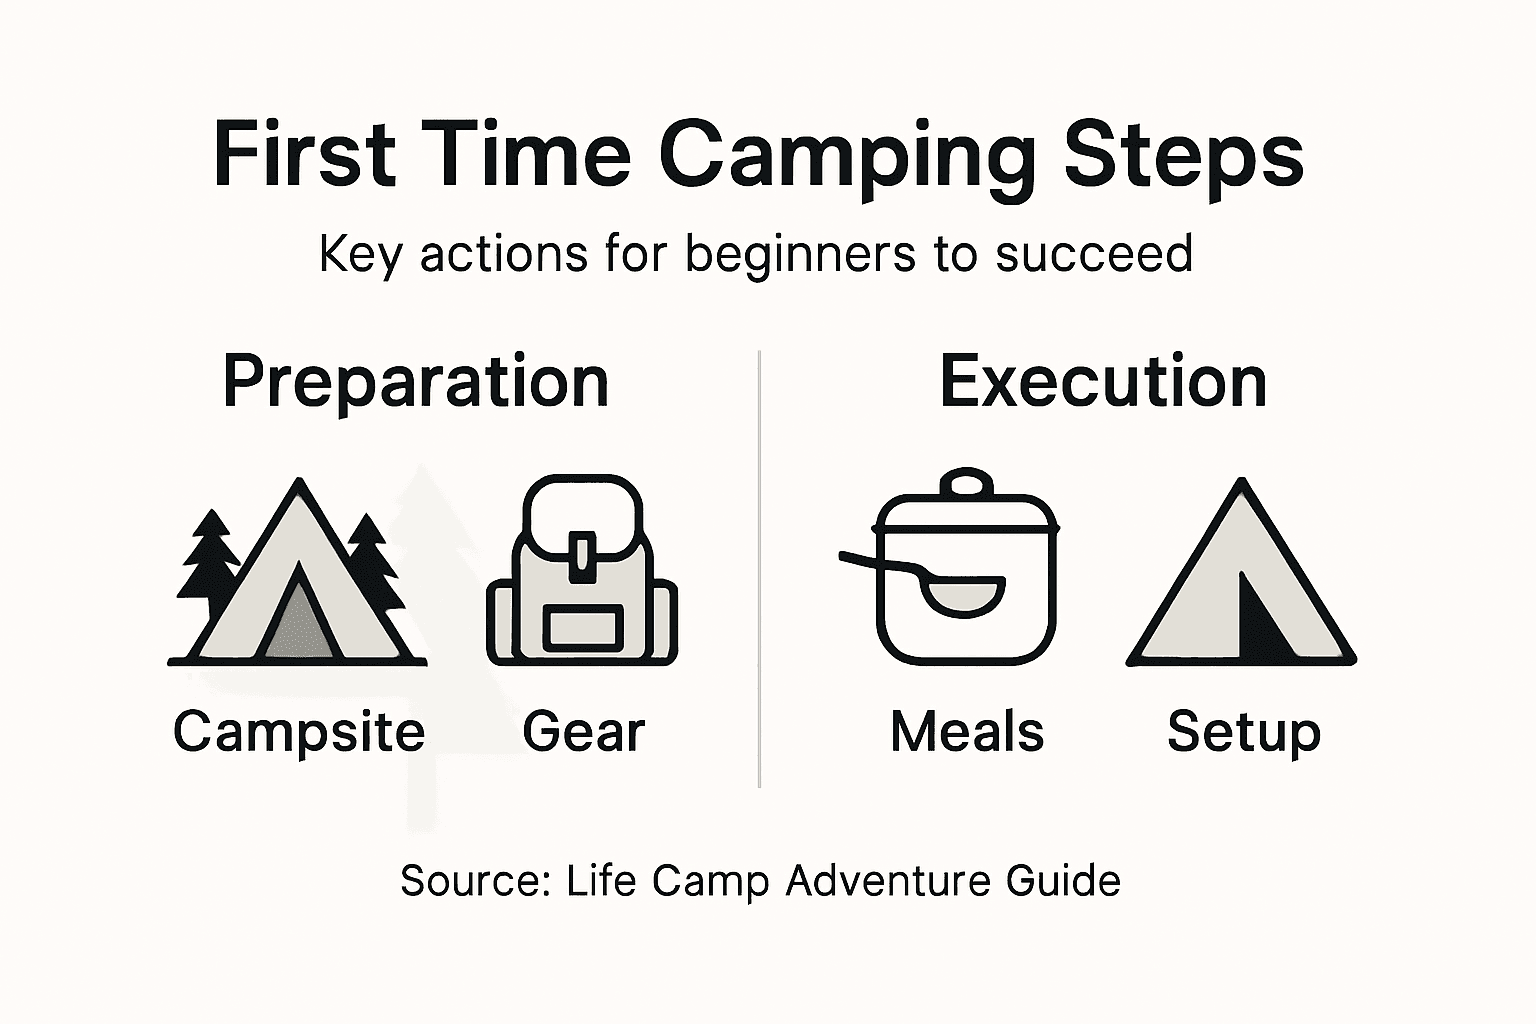
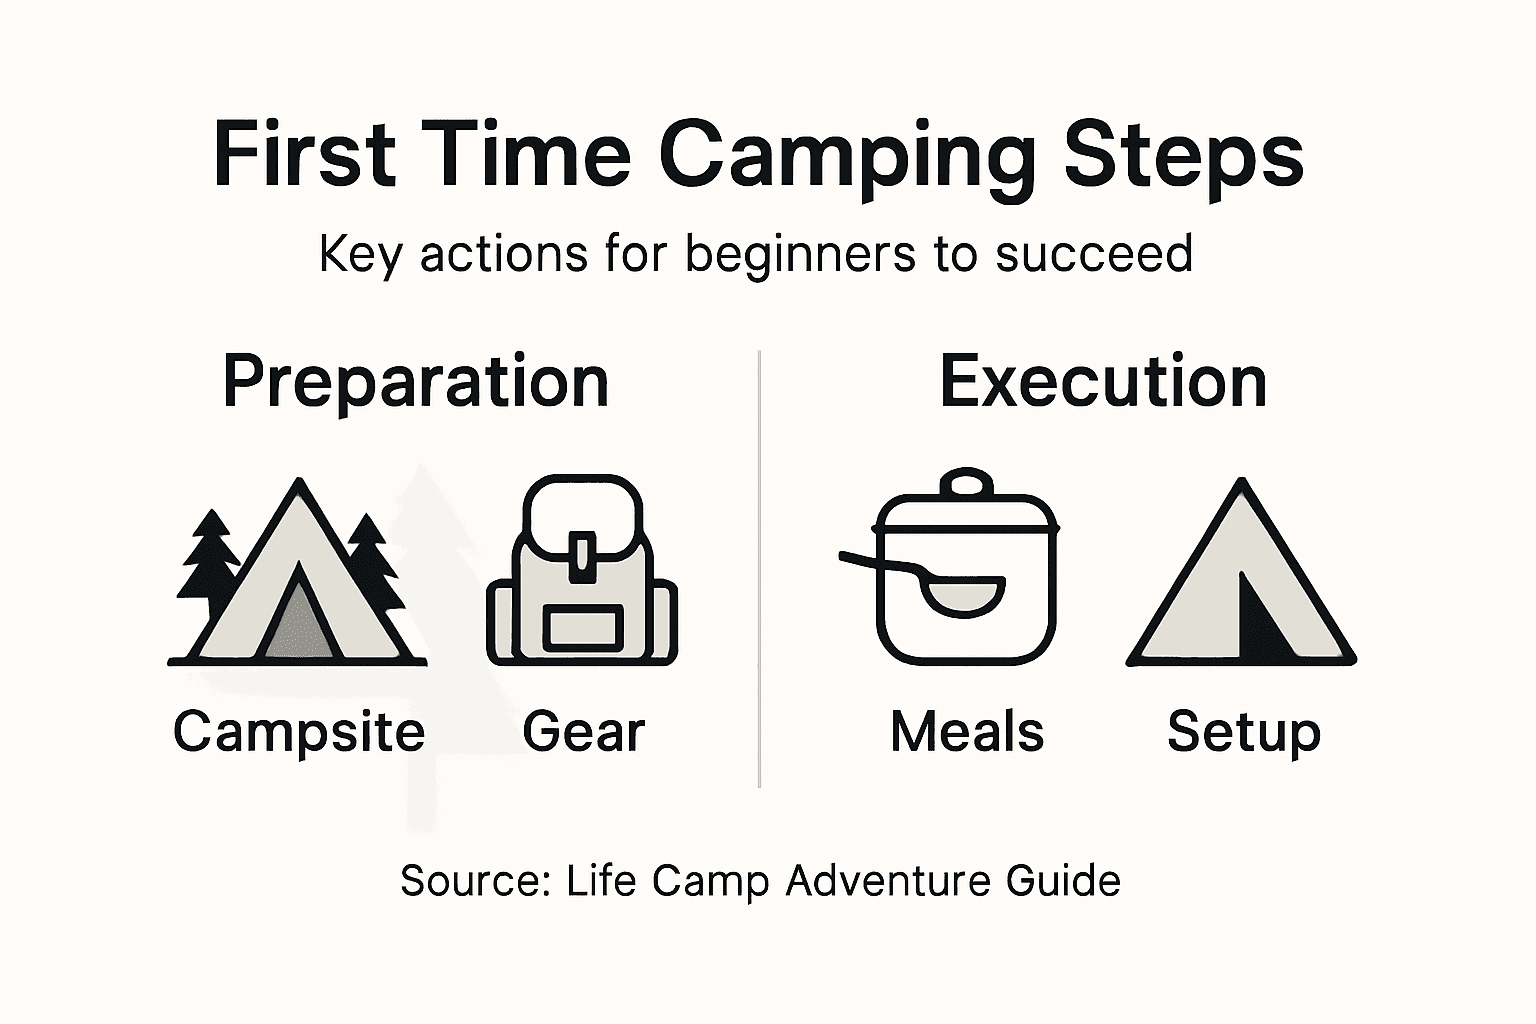
Begin by selecting your exact tent location. Look for flat, dry ground free from rocks, sticks, and debris that will poke through your tent floor and sleeping bag. Avoid low spots where water collects during rain, and stay away from dead branches overhead that could fall. If possible, position your tent on higher ground than your cooking area to prevent water runoff from reaching your sleeping space. Practice setting up your tent at home before your trip so you're not fumbling with poles and stakes in failing daylight. Many campers underestimate how quickly darkness falls. Bring a tarp or ground cloth to place under your tent for extra protection and insulation. This simple step prevents moisture from seeping up and extends your tent's lifespan. Once your tent location is set, use efficient campsite organization with designated zones for cooking, eating, and relaxing. Keep your cooking area downwind from your tent so smoke doesn't blow into your sleeping space. Place your cooler and food storage away from where you sleep to avoid attracting wildlife. Your relaxation zone with camp chairs should offer a view and a breeze, ideally positioned to catch sunset or morning light.
Now organize your gear for quick access and safety. Group items by function before you start unpacking. Keep tent components together, sleeping gear in one spot, and cooking supplies grouped logically. Place frequently used items like flashlights, water bottles, and toiletries within arm's reach. Heavier gear belongs toward the center of your campsite where it won't tip over. Store food and trash in sealed containers or bear bags if you're in bear country, keeping them far from sleeping areas. Set up your cooking zone with everything you need within a few steps: stove, fuel, utensils, pots, and food. This prevents constant back and forth trips that waste energy. If you're using a campfire, establish it in a safe location away from tents and overhanging branches. Clear a perimeter of bare earth around your fire pit and never leave a fire unattended. Check local regulations about campfire use since some areas prohibit them entirely.
Take time to create pathways between your zones so you're not constantly stepping over gear in darkness. A well-lit path from your tent to the bathroom or water source prevents trips and falls. Use a headlamp or battery-powered lantern to illuminate key areas after sunset. Position your camp toilet or hand-washing station downhill and away from water sources. The small effort of thoughtful organization on your first day prevents frustration and mishaps throughout your trip. Good campsite setup becomes faster and easier with experience, but even your first attempt makes a significant difference in comfort and safety.
Pro tip: Set up your tent and organize your campsite at least two hours before sunset so you have natural light to work with and can troubleshoot any issues before darkness falls.
Step 5: Verify Comfort and Safety Before Nightfall
As daylight fades, take time to walk through your campsite and assess everything before darkness makes adjustments difficult. This step ensures your tent is secure, your sleeping area is comfortable, and potential hazards are identified while you can still see them clearly. A quick pre-nightfall check prevents most camping accidents and discomfort.
Start by inspecting your tent setup thoroughly. Check that all stakes are firmly driven into the ground and guy lines are properly tensioned so your tent won't collapse or flap in wind. Test your sleeping bag and pad to confirm they're positioned comfortably and adequately padded. Lie down in your sleeping bag for a moment and assess whether you'll stay warm through the night. If you're cold, add extra layers or blankets now rather than shivering later. Verify that your tent's ventilation isn't blocked since condensation buildup creates dampness and discomfort. Look around your immediate sleeping area for any sticks, rocks, or debris you might have missed during setup. Even small objects become uncomfortable annoyances when you're lying on them. Test your lighting situation by turning on your headlamp or flashlight inside your tent. Confirm you can move around safely without hitting your head on poles or tent fabric. Walk your entire campsite and assess environmental hazards like dead branches overhead or uneven ground that could cause trips. Look for widow makers, which are dead branches hanging from trees that could fall unexpectedly. Check that your pathways are clear and reasonably lit so you can navigate safely after dark.
Now verify your food and water situation. Confirm your cooler is properly sealed and positioned away from your tent. Check that trash is secured in sealed containers or bear bags, especially if you're camping in areas with wildlife. Make sure your drinking water is accessible and safe to consume. Fill your water containers for the night so you don't need to venture far if you get thirsty. Test your bathroom setup and confirm you know where to find toilet paper and hand sanitizer in darkness. Assess weather conditions and confirm your tent has appropriate rain protection. If storms are forecast, double-check that your tarp is secure and water won't pool around your tent. Verify you have emergency supplies accessible, including your first aid kit, flashlight, and any medications you might need. Check that you know how to operate your tent's rain fly and emergency exits. Confirm your fire is completely extinguished if you used one, and that no embers remain. A moment spent verifying these details prevents panic and discomfort when night falls completely. Once darkness arrives, moving around becomes considerably more challenging and risky.
Walk the perimeter of your campsite one final time, paying attention to any sounds, smells, or signs of wildlife. Make mental notes of landmarks so you can orient yourself if you wake during the night. Confirm that your neighbors' campsites are a comfortable distance away and that noise levels are manageable. If something doesn't feel right about your setup or location, adjust it now before committing to sleep. Trust your instincts about comfort and safety. Finally, establish a pre-sleep routine that helps you relax after the excitement of arrival. Many first-time campers find the quiet and darkness unsettling initially, but a calm evening routine helps your body adjust to the new environment.
Pro tip: Complete your safety checks by sunset but spend your final hour before bed relaxing by a campfire or in your chair so you arrive at your tent calm and ready to sleep rather than rushing in darkness.
Gear Up for Your First Camping Adventure with Confidence
Starting your first camping trip can feel overwhelming when choosing the right site, assembling essential gear, and planning comfortable meals. The article highlights key challenges like selecting a season-appropriate tent, ensuring warmth with quality sleeping bags, and organizing your campsite efficiently. These pain points often make or break the experience for new campers seeking hassle-free outdoor enjoyment.
At Life Camp Adventure, we understand the importance of reliable gear that removes stress and boosts comfort in the wilderness. Whether you want durable tents, survival essentials, or easy-to-use cooking equipment we offer high-quality solutions designed specifically for beginners to experienced adventurers who want to elevate every outdoor moment. Our carefully curated products help you avoid common pitfalls like poor shelter setup or inadequate lighting and ensure you stay safe and comfortable so your focus stays on creating unforgettable memories.
Get ready to conquer your first camping trip with confidence by exploring our collection of adventure-ready gear at Life Camp Adventure. Start your hassle-free journey today and experience how the right equipment turns a good trip into a great one. Visit https://lifecampadventure.com now and prepare to make your next outdoor escape seamless and enjoyable.
Frequently Asked Questions
How do I choose the right campsite for my first camping trip?
Selecting the right campsite is essential for a successful trip. Look for locations that are easily accessible, match your comfort level, and offer amenities that fit your needs, such as restrooms and water sources.
What gear do I absolutely need for my first camping experience?
For your first camping trip, focus on essential items like a weather-appropriate tent, a warm sleeping bag, and a portable stove. Prioritize comfort and safety by gathering each piece of gear before your trip so you can test them out at home.
How can I plan easy camp meals for my first trip?
Keep your camp meals simple by choosing one-pot recipes and pre-prepped ingredients that require minimal cooking. Preparing meals at home and packing them in individual portions can eliminate meal stress and allow for easier cooking at your campsite.
What should I do to set up my campsite efficiently?
To set up your campsite efficiently, choose level ground for your tent, designate zones for cooking and relaxing, and keep food storage away from your sleeping area. Arrive at your campsite early and organize your gear to prevent chaos and ensure safety throughout your stay.
What safety checks should I complete before night falls while camping?
Before nightfall, inspect your tent setup for stability, check that your food is secured properly, and ensure pathways are clear. Verify these details early in the evening to avoid discomfort later and enjoy a peaceful night's sleep.
How do I prepare for environmental hazards when camping?
Assess your campsite for potential hazards like dead branches and uneven ground as you set up. Spend time evaluating your surroundings to adjust your setup and ensure safety, especially as visibility decreases at night.
