TL;DR:
- Most families are unprepared for emergencies despite feeling confident beforehand.
- Effective planning involves assessing local risks, building multiple kits, assigning roles, and practicing regularly.
- Consistently updating and rehearsing the plan ensures families can respond swiftly and effectively during crises.
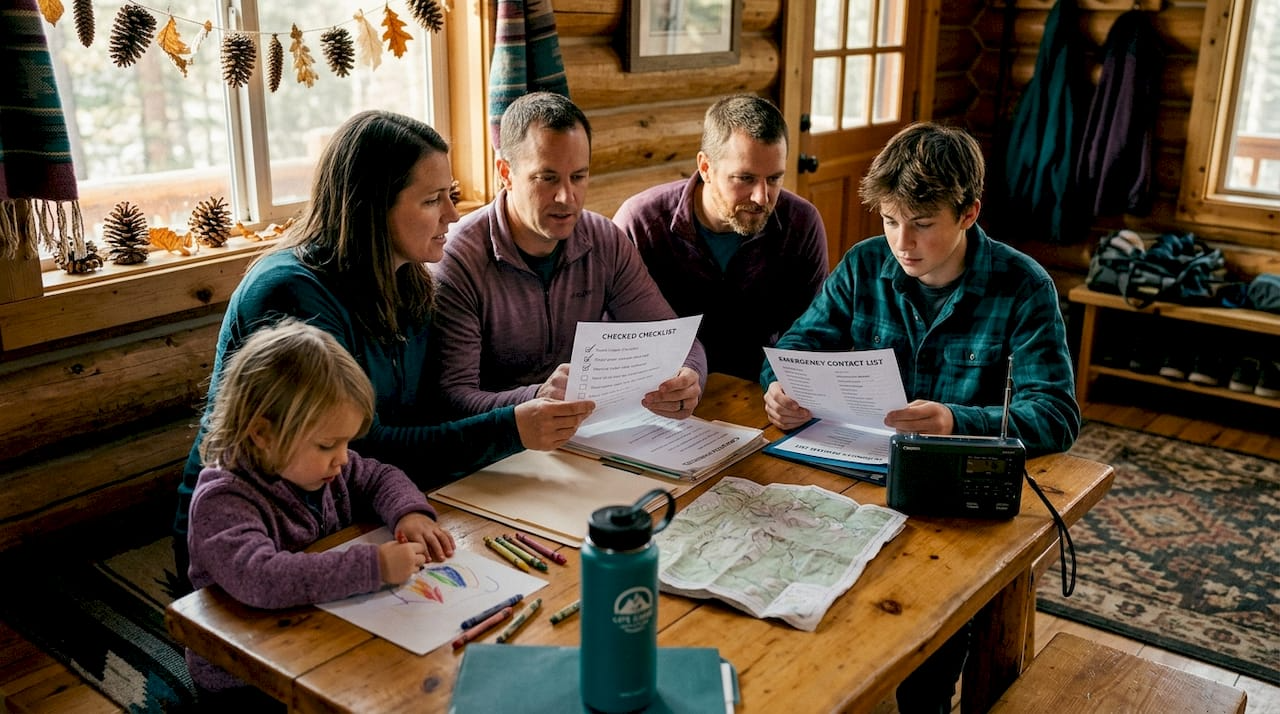
Most families feel ready until an emergency actually arrives. The emergency preparedness process closes the gap between "we should probably do something" and having a real plan your household can execute under pressure. Without clear emergency planning steps, small gaps become big problems when a wildfire evacuation order comes at midnight or a winter storm knocks out power for five days. This guide walks you through everything you need to assess your risks, build your kits, assign roles, and keep your plan sharp over time.
Key takeaways
| Point | Details |
|---|---|
| Start with your local risks | Identify the specific hazards in your area before buying supplies or writing any plan. |
| Build three separate kits | Maintain kits for home, work, and car so you are covered no matter where emergencies strike. |
| Assign roles before the crisis | Pre-assigned roles prevent confusion and ensure every task gets done under stress. |
| Match supplies to your time horizon | FEMA recommends 3 days of supplies for evacuation and 2 weeks for sheltering at home. |
| Review and update annually | Expired food, outgrown children's clothing, and changed medications make old kits dangerous. |
The emergency preparedness process starts here
Before you buy a single piece of gear or write one word of a plan, you need to understand what you are actually preparing for. That sounds obvious, but most families skip this step and end up with generic supplies that do not match their real situation.
Assess your local hazards first. The risks in coastal Florida look nothing like those in tornado-prone Kansas or earthquake-prone California. Check with your local emergency management office or FEMA's hazard maps to identify the two or three most likely scenarios your household faces. That focus shapes every decision that follows.
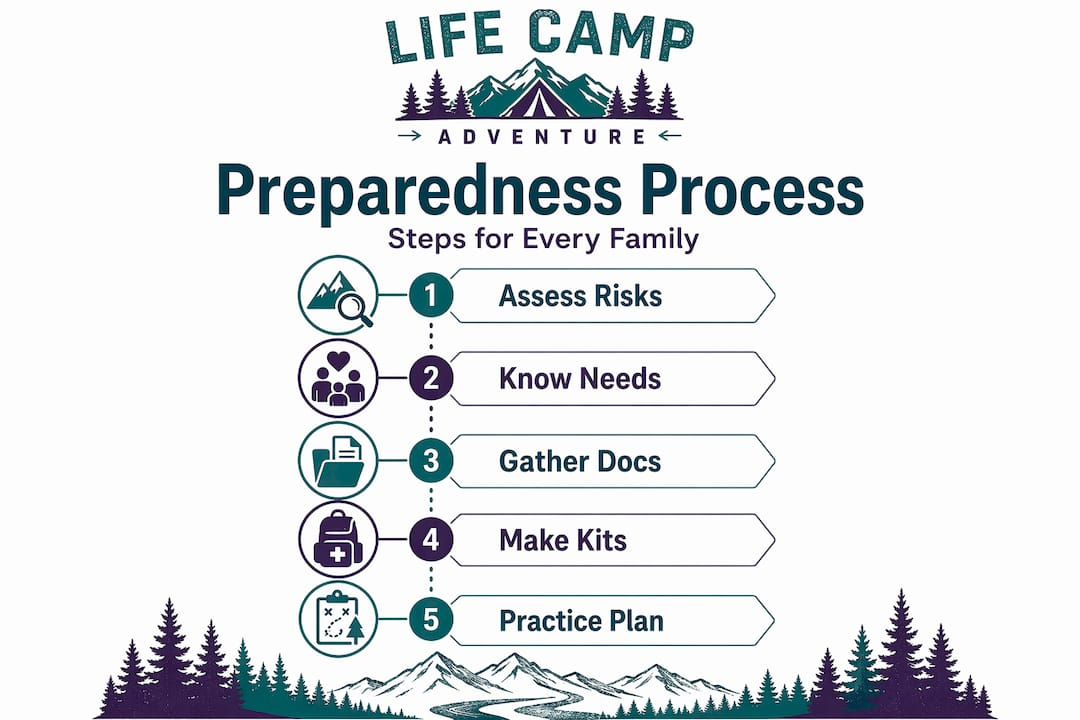
Know your household members and their needs. A family with a toddler, an elderly grandparent, and a dog has completely different supply needs than two healthy adults. List every person and pet, note any medications, mobility limitations, or dietary restrictions, and factor those into your planning from the start.
Once you have that picture, gather the foundational documents every household needs: copies of insurance cards, identification, bank account information, prescription lists, and emergency contacts. Store physical copies in a waterproof bag inside your kit. Critical documents and medication lists are the most common access bottleneck families hit during a real crisis.
The three kit system
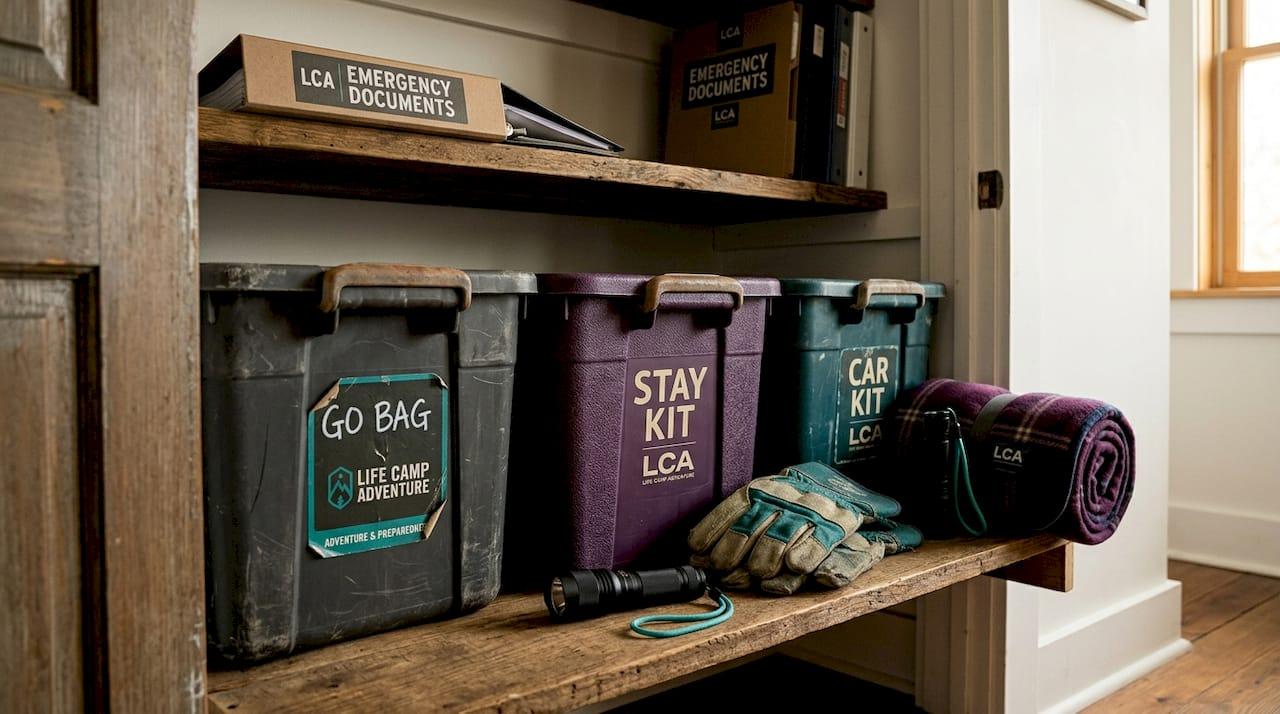
Ready.gov recommends treating preparedness as a system with separate kits for your home, your workplace, and your car. Each serves a different scenario.- Home kit: Your most complete kit. Stock 1 gallon of water per person per day, non-perishable food, a battery-powered radio, flashlights, a first aid kit, and sanitation supplies. Keep it in a single location everyone knows.
- Work kit: A smaller kit with a 24-hour supply of water and snacks, comfortable walking shoes, copies of key documents, and any medications you take daily.
- Car kit: Focused on getting you home or to a shelter. Include water, a basic first aid kit, a blanket, phone charger, and a paper map of your area.
Pro Tip: Label each kit clearly and store them in easy-to-carry containers with handles. During an evacuation, you may have less than 10 minutes to grab and go.
How to create your emergency plan step by step
With your risks assessed and your supplies organized, you are ready to build the actual plan. Effective preparedness planning is a lifecycle approach, not a one-time document. Here is how to build one that holds up when things go wrong.
Create a family communication plan. Choose an out-of-area contact everyone calls if local lines are overwhelmed. Write down that person's number on a physical card and put it in every kit. Local cell towers often fail, but calls to distant numbers sometimes connect when local ones do not.
Choose two meeting places. Pick one just outside your home for quick evacuations like a house fire. Pick a second location farther away, such as a community center or a relative's house, for neighborhood-wide emergencies. Everyone should know both without needing to check a phone.
Assign specific roles. Clear pre-assigned roles in families prevent breakdown under stress. Decide who grabs the home kit, who handles the pets, who confirms the kids are picked up from school, and who checks on elderly neighbors. Write it down.
Build scenario-specific kits. FEMA recommends 3-day supplies for evacuation kits and a 2-week supply for sheltering at home. Do not stock your evacuation bag with two weeks of food. It becomes too heavy to carry and you will leave it behind.
Account for everyone. Children, seniors, pets, and people with disabilities all need specific additions. Include comfort items for kids, mobility aids or extra prescription medications for seniors, and food, water, and carriers for pets.
Practice the plan twice a year. Walk through your evacuation routes. Have each family member recite the out-of-area contact number from memory. Time how long it takes to grab your kits and get to your meeting place. You will find gaps you never expected.
Pro Tip: Treat your first practice drill like a fire drill at school. Do it without warning and see what actually happens. The surprises you find during a drill are far less costly than the surprises you find during a real emergency.
Reviewing your outdoor emergency preparation steps regularly keeps the whole system sharp. The plan your family practices is the one they will follow.
Common mistakes that undermine your plan
Even well-intentioned families hit the same set of problems. Knowing them in advance saves you from learning them the hard way.
- Copying a generic plan without customizing it. A template is a starting point, not a finished product. A family with a newborn, a family with teenagers, and a single adult living alone each need different plans.
- Understocking based on the wrong time horizon. Many families build a 72-hour kit and consider themselves done. But sheltering in place during a major storm or infrastructure failure may require supplies for two weeks at home.
- Skipping document copies. Losing access to prescriptions, medical records, or insurance information after a disaster significantly slows recovery. Copies of these documents belong in every kit.
- No offline communication plan. Phones fail, batteries die, and cell towers go down. Decide in advance on a radio frequency, a physical meeting point, or a trusted neighbor as a message relay.
- Never updating the plan. A child who was 5 when you wrote the plan is now 12 and has different needs. A new medication was added to the household. You moved to a new neighborhood with different evacuation routes.
"A plan that lives in a drawer and never gets practiced is just paper. What saves families is a plan they have rehearsed until it becomes muscle memory."
The disaster preparedness checklist your family actually follows beats a perfect document no one has read.
Maintaining preparedness over time
Building a plan is a milestone. Maintaining it is the real work.
Here is a realistic framework for keeping your preparedness strong year after year:
- Annual kit review. Check expiration dates on food and water every 12 months. Rotate stock. Replace expired medications. Update children's clothing sizes in your kit.
- Life change updates. Any time your household changes, your plan changes. New baby, new address, new health condition, or a family member moving out all require plan revisions.
- Practice drills every six months. Schedule them like dentist appointments. One in spring, one in fall. Vary the scenario so your family gets comfortable with different situations.
- Community integration. Risk-informed, community-based planning strengthens individual household plans. Know your neighbors. Find out if anyone nearby has medical training, a generator, or a truck. Community resilience extends your family's.
| Before updating | After updating |
|---|---|
| Expired food and water in kit | Fresh, correctly dated supplies ready to use |
| Outdated contact numbers | Verified current contacts for every family member |
| Plan written for old household | Plan reflecting current members, pets, and needs |
| No practiced evacuation route | Family has timed the route and knows two alternatives |
The families who fare best in emergencies are not the ones with the most gear. They are the ones who stay current on preparedness steps and treat readiness as an ongoing habit, not a one-time project.
My honest take on why most plans fail
I've reviewed a lot of emergency plans. I've also watched families test their plans in practice drills and seen exactly where things fall apart. My honest observation is this: the plan almost never fails because of missing gear. It fails because nobody practiced it.
I've seen families with beautifully stocked kits freeze during a drill because no one knew who was supposed to grab what. I've seen parents realize mid-drill that their teenager does not actually know the out-of-area contact number they wrote down three years ago. These are fixable problems, but only if you practice.
What I've learned is that matching plans to household needs and actually practicing them are the two behaviors that separate prepared families from unprepared ones. Everything else, the gear, the checklists, the documents, is in support of those two things.
My other strong opinion: stop waiting for the perfect time to start. A rough plan practiced twice a year beats a detailed plan practiced never. Start with your hazard assessment, assign three roles, and pick a meeting spot. Do that this week. The rest can follow.
— Billy
Gear that backs up your plan
A solid plan needs reliable gear behind it. At Lifecampadventure, we design and source products specifically for the moments when dependability is not optional. Whether you are building a home kit, a car kit, or a go-bag for outdoor adventures, the right equipment makes execution faster and less stressful.

From survival kits and essential gear to outdoor survival checklists built around real-world needs, Lifecampadventure carries the products that turn a written plan into a fully equipped one. Browse our gear collections to find durable, ready-to-go options for every scenario your household might face. Your plan deserves equipment that performs when it counts.
FAQ
What are the first steps in the emergency preparedness process?
Start by identifying the specific hazards most likely to affect your area, then assess your household's needs including medications, mobility, and pets. From there, build your communication plan and assemble your kits.
How much water and food should an emergency kit include?
Ready.gov recommends at least 1 gallon of water per person per day and enough non-perishable food for several days. FEMA advises 3 days of supplies for evacuation and 2 weeks for sheltering at home.
How often should you update your emergency plan?
Review and update your kits and plan at least once a year, and immediately after any significant household change such as a new family member, a move, or a change in medications.
What documents should go in an emergency kit?
Include copies of identification, insurance cards, prescription lists, bank account information, and emergency contact numbers. Store them in a waterproof bag so they stay accessible even in flood or storm conditions.
Why is practicing the plan so important?
Pre-assigned roles and practiced plans prevent confusion and task failure under stress. A plan your family has rehearsed is far more likely to be followed correctly when a real emergency happens.
