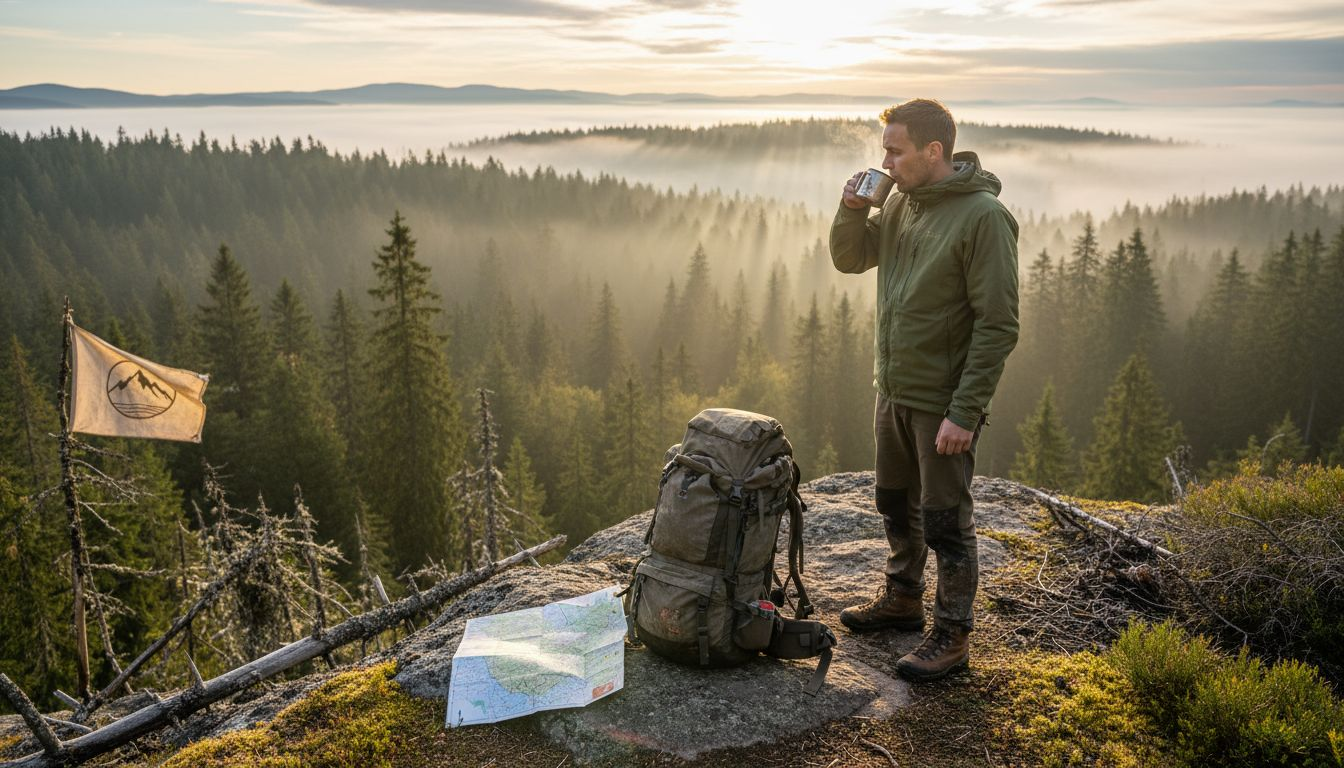
Every Pacific Northwest backpacker knows the thrill of setting out for the mountains with a pack that feels lighter and a plan that covers every detail. Nailing the route and trip goals upfront means less stress and more time to enjoy the wilderness that Washington and Oregon are famous for. This guide shares expert tips for choosing the right trail, staying safe, and packing ultra-light gear essentials so your next multi-day adventure feels rewarding instead of overwhelming.
Quick Summary
| Key Insight | Explanation |
|---|---|
| 1. Define trip goals before planning | Determine the purpose of your trip to guide your choices on trails, distance, and difficulty. |
| 2. Research trail conditions thoroughly | Use guidebooks and recent reports to check for closures and obstacles that could impact your trip. |
| 3. Prioritize ultralight gear options | Aim for a base weight under 10 pounds to enhance mobility and reduce fatigue during your adventure. |
| 4. Plan hydration and nutrition meticulously | Ensure adequate water intake and pack calorie-dense foods to support high energy needs during the trip. |
| 5. Create a detailed safety plan | Develop an itinerary for a reliable contact and have backup routes and emergency plans ready before departure. |
Step 1: Define your route and trip goals
This step sets the foundation for your entire trip. You're not just picking a random trail—you're making intentional choices about distance, difficulty, and what success looks like for your adventure.
Start by answering a simple question: What do you want from this trip? Are you hunting for a quick overnight getaway, pushing through a challenging multi-day loop, or testing new ultralight gear on an extended journey? Your goal shapes everything that follows.
Once you know your trip type, research your specific trail. Check guidebooks, online trip reports, and recent photos to understand current conditions. Spring snowmelt might block high passes. Summer heat can make exposed sections grueling. Fall storms roll in faster than you'd expect. Research trail conditions using recent reports before committing to your dates.
Pick a trail that matches your goals and fitness level, not one that impresses others.
Now define your route with precision. Grab detailed maps and trace your exact path. Identify where you'll camp each night. Mark water sources—knowing reliable springs saves you from carrying heavy loads and helps you plan daily mileage realistically.
For the Pacific Northwest, aim for these practical daily targets:
Here's a quick overview of practical daily mileage targets for the Pacific Northwest based on terrain and experience:
| Terrain Type | Daily Mileage Range | Recommended For |
|---|---|---|
| Steep, wet with full gear | 5–7 miles | Beginners, challenging hikes |
| Moderate, established camps | 7–10 miles | Most backpackers |
| Flat, experienced hikers | 10–12 miles | Advanced, fast-paced trips |
- 5 to 7 miles per day on steep, wet terrain with full gear
- 7 to 10 miles per day on moderate trails with established campsites
- 10 to 12 miles per day only if the trail is flat and you're experienced
Check with ranger stations about permits, closures, and access restrictions. Some trails require advance reservations. Others have seasonal closures. A quick phone call prevents wasted planning.
Create a written itinerary including start time, route details, daily mileage, camping locations, and expected return date. Leave this with a trusted contact at home. If something goes wrong, search and rescue teams need to know exactly where to look.
Pro tip: Screenshot or download offline maps on your phone before you leave service areas—screen brightness drains batteries fast, so bring a portable charger and keep maps on paper as backup.
Step 2: Select ultra-light gear essentials
This is where your pack weight either becomes your worst enemy or your greatest advantage. The goal is straightforward: carry only what you need, nothing more.
Ultralight backpacking targets a base weight under 10 pounds (everything except food, water, and fuel). Sounds extreme, but it's absolutely achievable with intentional gear choices. The payoff is massive—lighter loads mean faster movement, less strain on your joints, and the ability to cover more distance without exhaustion.
Start by listing the core systems you actually need. Every backpacker requires these categories:
- Shelter and sleep system (tent, sleeping bag, pad)
- Backpack and pack cover
- Clothing layers and rain gear
- Navigation tools and headlamp
- Hydration and water treatment
- Cooking setup and utensils
- First aid and repair kit
Choose gear that serves multiple purposes—a stuff sack that doubles as a pillow, a trekking pole that supports your tent.
When selecting individual items, prioritize materials and weight first. Titanium cookware, down insulation, and ultralight fabrics like Dyneema cost more upfront but shave ounces that add up quickly. A comprehensive gear checklist ensures you don't overlook critical items while pursuing lightness.
Compare key features of ultralight gear materials commonly used for backpacking:
| Material | Weight Benefit | Durability | Typical Use |
|---|---|---|---|
| Titanium | Very light | High | Cookware, tent stakes |
| Down | Excellent warmth | Moderate | Sleeping bags, jackets |
| Dyneema | Ultralight & strong | Outstanding | Backpacks, tents |
| Nylon | Lightweight | Good | Outer layers, ground sheets |
For the Pacific Northwest, your sleeping bag and tent are non-negotiable. An ultralight down sleeping bag rated for 20 degrees Fahrenheit keeps you warm through spring and fall trips without excessive weight. Pair it with a quality ultralight tent designed for your climate.
Avoid the trap of ultralight gear that sacrifices durability. A tent that fails at 8,000 feet in a storm is worthless. Sleeping bags with cheap stitching won't last three seasons. Buy from reputable manufacturers that balance weight with reliability.
Create a detailed gear list with specific items and weights. Weigh everything on a kitchen scale. You'll discover which items are true weight culprits and where you can comfortably trim.
Pro tip: Use a bathroom scale to weigh your full pack, then subtract your body weight. Reweigh after each trip to track whether your gear decisions are working or if something's creeping into unnecessary weight.
Step 3: Prepare nutrition and hydration strategies
Your body's fuel and water intake determine whether you finish strong or bonk halfway through day two. Getting this right transforms a grueling trip into an enjoyable adventure.
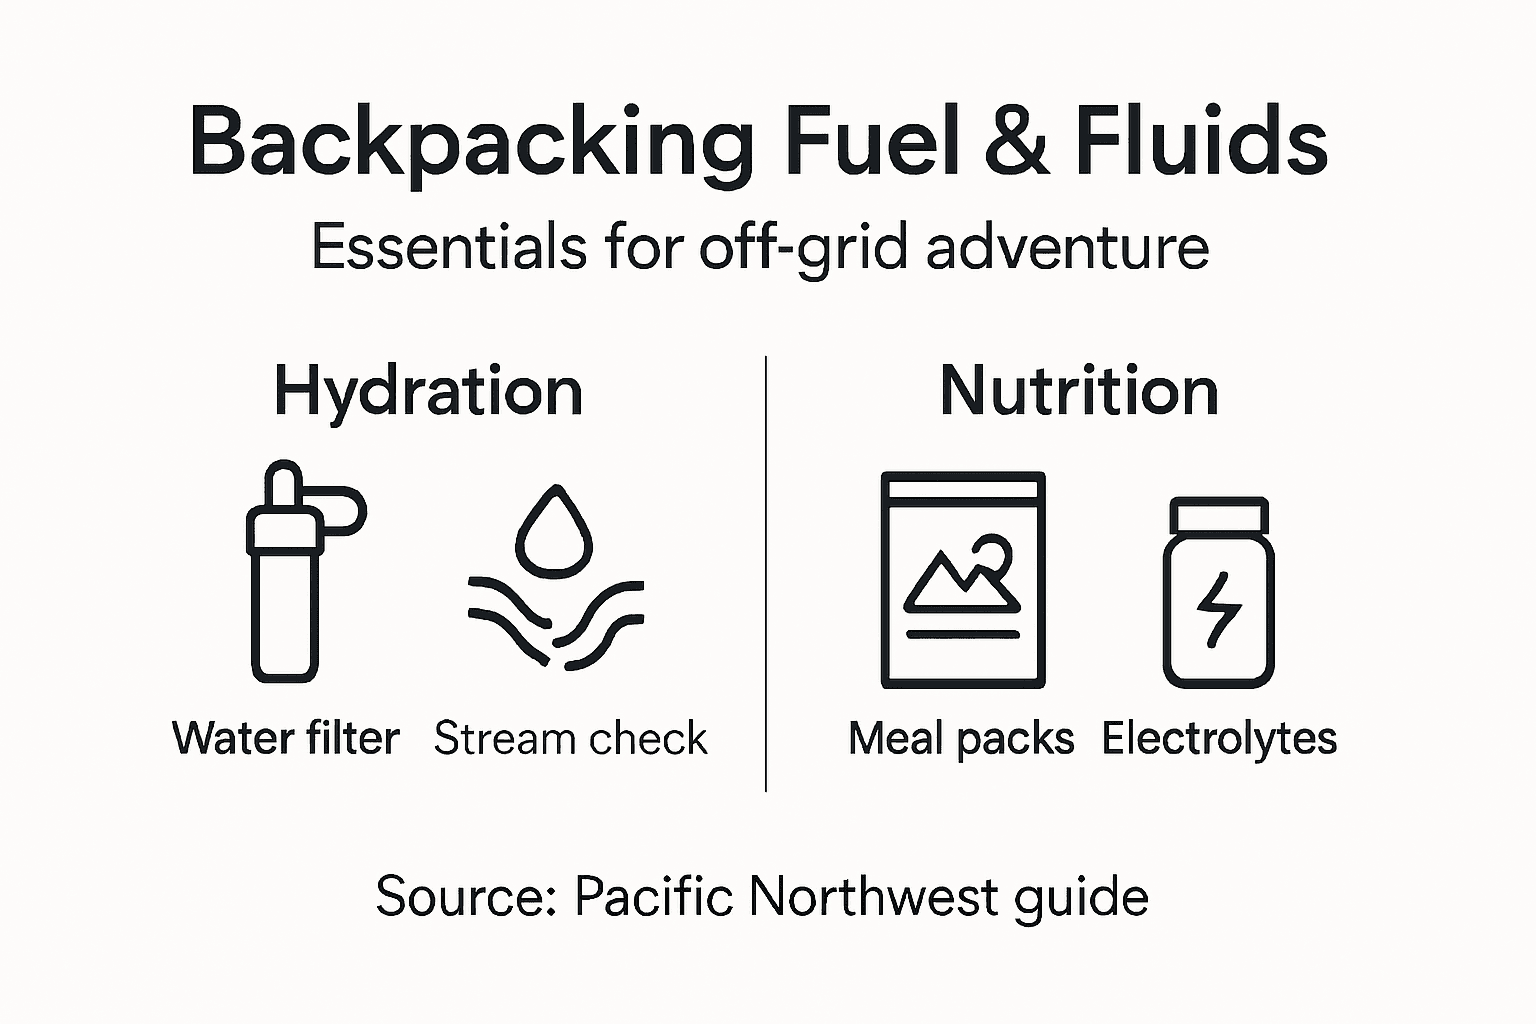
Start with hydration because it's non-negotiable. You lose water constantly through breathing, sweating, and urination. Waiting until you're thirsty means you're already dehydrated. Hydration and water intake directly impact your cognitive function, physical performance, and injury prevention.
Plan your water strategy around your route. Identify reliable water sources along your trail. In the Pacific Northwest, streams and springs are abundant, but you must filter or treat every drop. Carry a lightweight water filter or purification tablets to avoid parasites and bacteria that cause serious backcountry illness.
Drink consistently throughout the day rather than chugging massive amounts at rest stops. Aim for 2 to 3 liters daily depending on temperature, elevation, and exertion level. On hot, steep days, bump that to 4 liters or more.
Now tackle nutrition. Your body burns 4,000 to 6,000 calories per day while backpacking. Undereating creates fatigue, slower recovery, and dangerous decision-making when tired. Pack calorie-dense foods that don't spoil:
- Trail mix and nuts (165 calories per ounce)
- Dried fruit and energy bars
- Instant oatmeal and dehydrated meals
- Nut butter packets and chocolate
- Electrolyte drink powder
Eat before you're hungry. Drink before you're thirsty. Your body's hunger signals lag behind actual energy needs.
Include electrolyte replacement during days with heavy sweating. Salt tablets, sports drink powder, or electrolyte gels prevent cramping and maintain fluid balance. Many backpackers ignore this and suffer needlessly on day two.
Weigh your food before the trip to avoid overpacking. Calculate calories per pound and choose the highest calorie-to-weight ratio foods. A freeze-dried meal weighs almost nothing but provides 1,200 calories.
Pro tip: Eat a substantial breakfast before breaking camp—oatmeal with nuts and dried fruit takes 10 minutes to cook and fuels your morning miles better than skipping breakfast and relying on snacks.
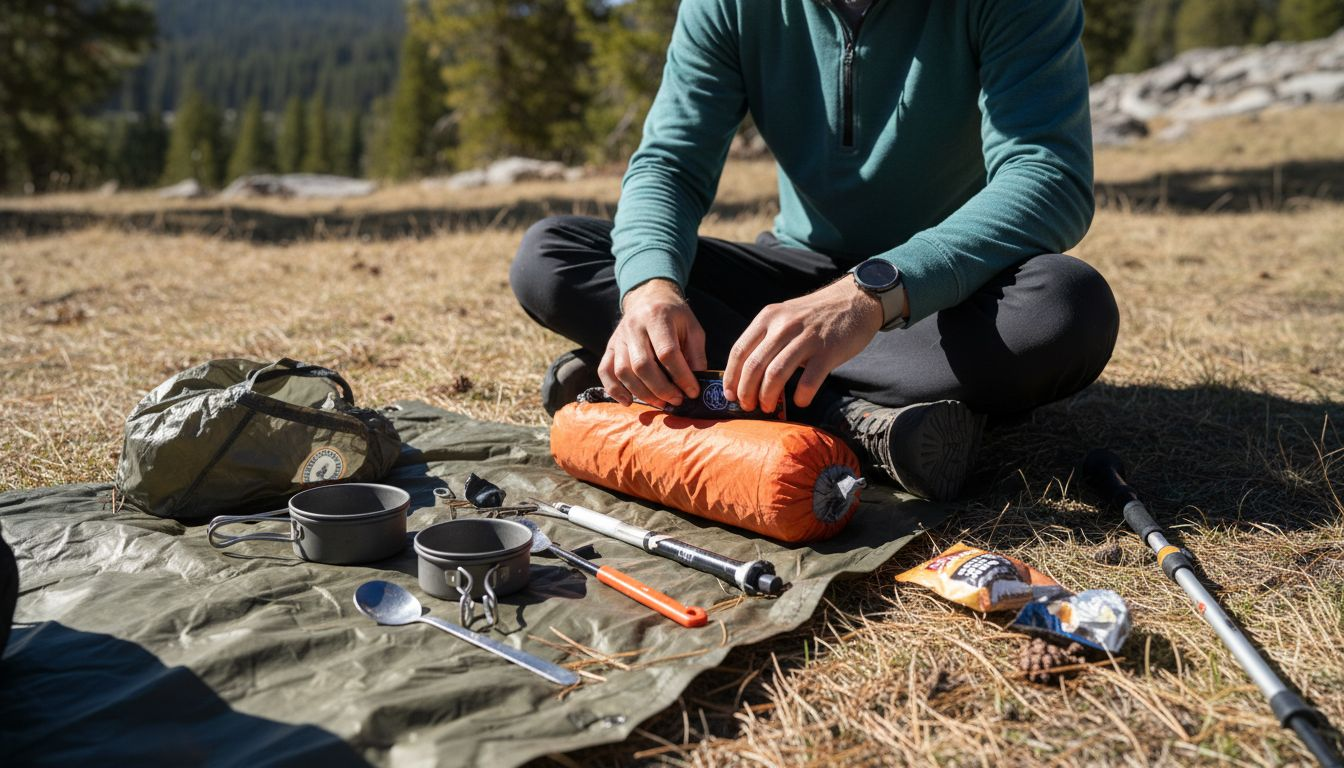
Step 4: Test gear and finalize your checklist
Don't discover problems on the trail. Test everything at home where you can fix issues and adjust before your trip actually starts.
Begin with your shelter system. Set up your tent in the backyard. Get familiar with the poles, stakes, and rain fly. Practice in different weather if possible. Identify weak points or setup challenges while you're calm, not frustrated in darkness at 10,000 feet.
Test your stove and cooking system too. Fire it up in your yard, practice boiling water, and time how long meals take. You'll learn fuel consumption rates and whether your pot setup actually works. Many backpackers discover their stove is unreliable only after arriving at a cold, wet camp.
Wear your boots and clothing layers on day hikes before committing to a multi-day trip. Break in footwear properly to prevent blisters. Test your rain jacket in actual rain. Wear your backpack loaded with weight on several hikes to find comfort issues and hot spots.
Use your navigation tools during test hikes. Read your map, take bearings with your compass, and practice using your GPS device. This practice builds confidence and reveals navigation weaknesses before you need them urgently.
Gear testing in practice settings like backyard camps or day hikes helps identify missing items and discomfort points. Every test run teaches you something valuable.Create a master checklist organized by category and frequency of use:
- Daily items (water, snacks, sunscreen)
- Camp setup (tent, sleeping bag, cooking gear)
- Navigation and safety (map, compass, headlamp)
- Emergency and repair (first aid, multi-tool, patches)
- Clothing by weather scenario
The gear you test at home works. The gear you skip testing causes problems on trail.
After each practice trip, update your checklist. Remove items you didn't use. Add things you discovered you needed. Note which items caused discomfort or failed. This iterative process transforms your checklist from theoretical to battle-tested.
Weigh your final packed setup. Make sure you're actually at or under your target base weight. An extra water bottle or unnecessary luxury item you forgot to remove can push you over.
Pro tip: Do a full overnight shakedown trip in a location 30 minutes from home—sleep in your tent, cook all your meals, use all your gear exactly as you would on your real trip, then drive home and fix problems before committing to remote wilderness.
Step 5: Verify safety plans and backup options
Safety planning isn't paranoia—it's the difference between a fun adventure and a potential rescue situation. You need multiple layers of protection before heading into the backcountry.
Start by creating a detailed itinerary document for a trusted contact. Include your start date and time, expected return date and time, complete route description with trail names and waypoints, daily mileage targets, planned campsites, and your emergency contact information. This person needs to know exactly where to direct search and rescue if you don't return on schedule.
Choose your trusted contact wisely. Pick someone reliable who will actually follow through. Give them clear instructions to contact authorities if you're not back within 24 hours of your expected return. Make sure they understand the seriousness of the role.
Communication devices matter, especially in the Pacific Northwest where weather changes fast. Carry your fully charged phone and a backup power bank. Understand that cell service is unreliable at elevation. Consider a personal locator beacon or satellite communicator for true emergencies when you're beyond cell range.
Assess trail-specific hazards before departing. Research stream crossing difficulty, wildlife encounters, weather patterns, and terrain exposure. Know when conditions warrant turning back. Safe stream crossing techniques help you recognize dangerous water hazards you should avoid entirely.
Plan backup routes for your entire trip. Identify bailout points where you can exit early if weather turns bad or someone gets injured. Know how to get down safely from exposed sections. Have alternative campsites identified in case your planned location becomes inaccessible.
Carry redundant navigation tools:
- Detailed topographic map in waterproof case
- Compass (know how to use it)
- GPS device with fully charged batteries
- Backup portable charger
One backup fails. Two backups are insurance. Three backups are preparation.
Bring a basic first aid kit and know how to use it. Include blister treatment, pain relievers, antibiotic ointment, and emergency shelter material. Take a wilderness first aid course before serious trips.
Understand weather forecasts for your trip dates. Check forecasts regularly in the week before departure. Build flexibility into your plans to account for predicted storms or extreme heat.
Pro tip: File a formal itinerary with your local ranger station if available—rangers monitor overdue hikers and can initiate rescue faster than waiting for a friend to notice you're missing.
Gear Up for Your Off-Grid Backpacking Adventure with Confidence
Planning a backpacking trip requires careful focus on lightweight gear, reliable nutrition, and safety strategies to keep your journey enjoyable and secure. If you want to avoid unnecessary weight, unreliable equipment, or last-minute frustrations on the trail, having high-quality, durable gear designed specifically for outdoor challenges is essential. Life Camp Adventure understands the importance of matching your packing list to your goals whether you are tackling steep Pacific Northwest trails or testing ultralight systems on a multi-day loop.
Explore our selection of camping equipment, survival essentials, and adventure-ready products built for comfort and durability at Life Camp Adventure. Now is the perfect time to prepare your gear and finalize your checklist so you can focus on the thrill of the trip instead of avoidable setbacks. Visit us today to equip yourself with trusted tools that make your off-grid backpacking trip safer and more rewarding. Check out how we support every step of your journey at Life Camp Adventure and start your adventure prepared with confidence.
Frequently Asked Questions
How do I define my route and trip goals for backpacking?
Establish your trip's purpose by determining what you want from the adventure, such as a short getaway or an experience testing new gear. Research specific trails, considering distance and difficulty, then select one that aligns with your fitness level and preferences.
What gear should I consider essential for an off-grid backpacking trip?
Focus on lightweight gear that serves multiple purposes, prioritizing a shelter and sleep system, cooking utensils, and navigation tools. Consider creating a checklist to ensure you include vital items while keeping your pack's base weight under 10 pounds.
How can I prepare effective nutrition and hydration strategies for my trip?
Plan your hydration by identifying reliable water sources along your route and aiming for 2 to 3 liters of water daily. Pack calorie-dense, lightweight foods like trail mix and dehydrated meals that offer necessary energy to keep you fueled during your adventure.
What are some important safety plans to verify before heading out?
Draft a detailed itinerary for a trusted contact, including your planned route and expected return time. Carry essential safety gear, like a first aid kit and navigation tools, while also having backup options in case of emergencies or unexpected weather changes.
How can I test my gear before the backpacking trip?
Set up your tent, fire up your stove, and wear your clothing layers during day hikes to ensure everything functions properly. Practice using your navigation tools and revise your gear list based on your experiences to avoid surprises on the trail.