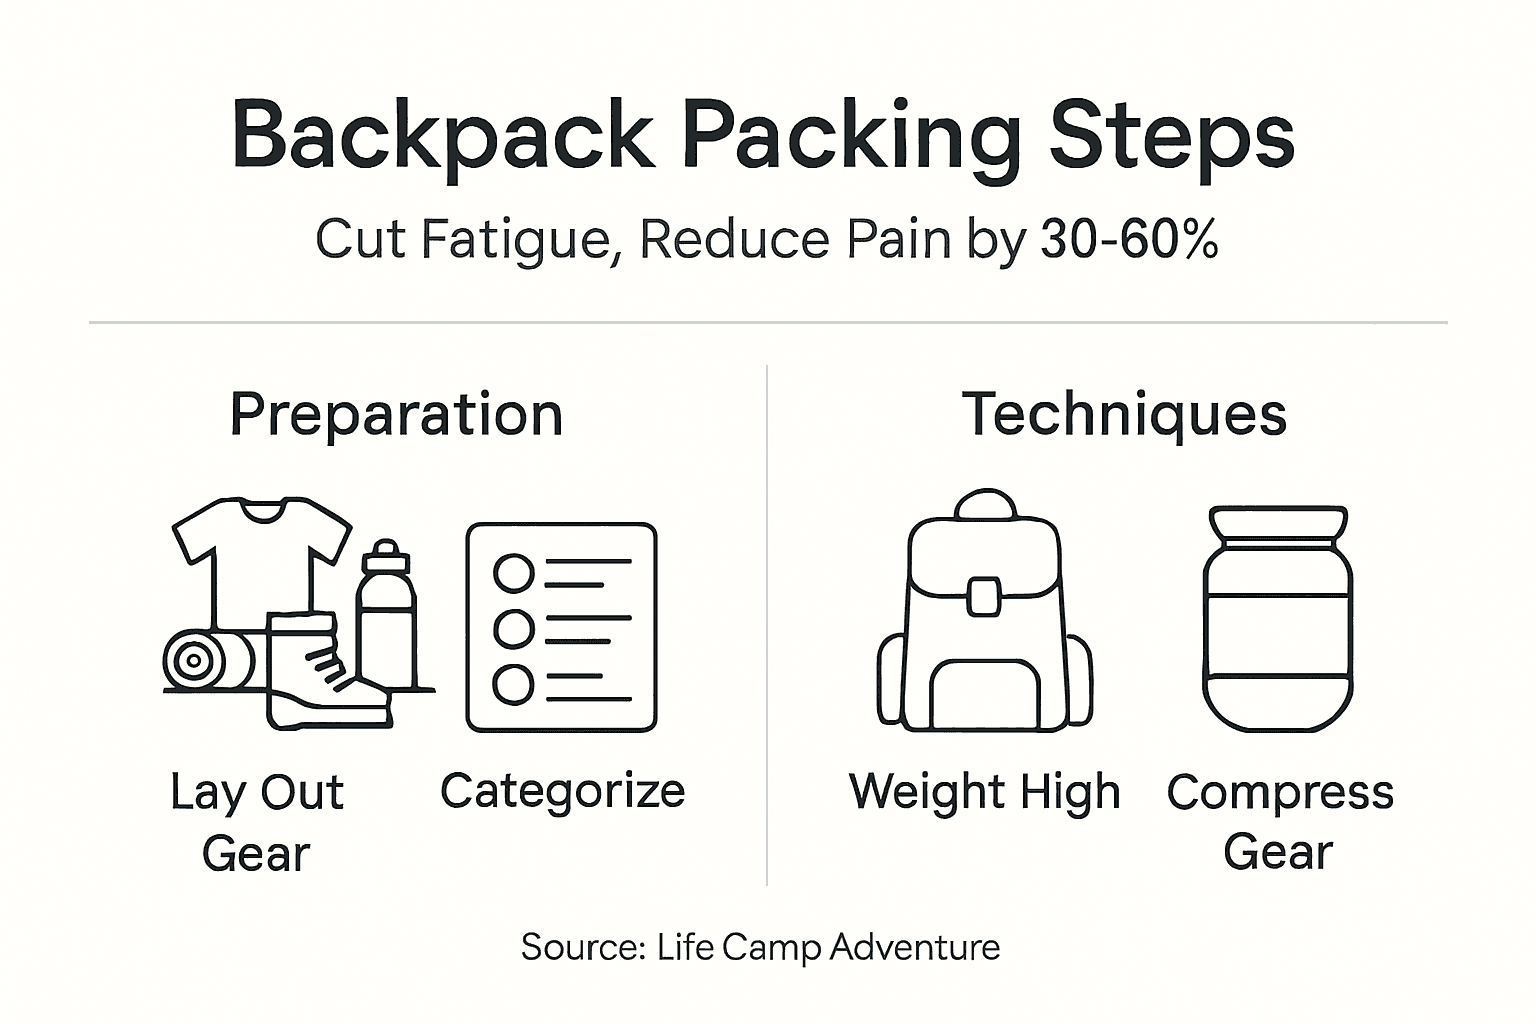
Poor packing causes over 60% of hikers to experience back and shoulder pain on the trail. When weight distribution is off, every step becomes harder and your body tires faster. This guide walks you through proven methods to pack your backpack efficiently, reducing fatigue by up to 30% while keeping essential gear accessible for overnight and weekend adventures.
Key Takeaways
| Point | Details |
|---|---|
| Proper packing reduces fatigue | Balanced loads cut hiking exhaustion by up to 30% compared to poorly organized packs. |
| Weight distribution prevents pain | Correct placement near your spine decreases back and shoulder discomfort by 60%. |
| Prioritize accessibility | Keep frequently used items in top and side pockets to avoid unpacking on the trail. |
| Compression optimizes space | Using compression sacks reduces pack volume by 40% while protecting gear. |
| Avoid common mistakes | Overpacking and poor weight placement are the top reasons hikers quit early. |
Prerequisites and Preparation
Before you start stuffing gear into your pack, you need the right foundation. Selecting a backpack that matches your trip length and body size makes everything easier. A 40-50 liter pack works for most weekend trips, while overnight hikes can use 30-40 liters.
Your pack weight should stay between 20-25% of your body weight for comfortable hiking. A 150-pound hiker should aim for a 30-37 pound pack maximum. Going heavier increases injury risk and drains energy fast.
Create a checklist before you pack so nothing gets left behind. Include shelter, sleep system, food, water treatment, clothing layers, navigation tools, and first aid. Check weather forecasts and adjust your list accordingly.
Gather all your gear in one place and inspect each item. Look for damaged zippers, torn fabric, or moisture in sleeping bags. Finding problems at home beats discovering them on the trail. If you want to prepare for backpacking effectively, spend time on this step.
- Choose backpack size based on trip duration: 30-40L for overnight, 40-50L for weekends
- Calculate target pack weight as 20-25% of your body weight
- Build and follow a gear checklist to prevent forgotten essentials
- Inspect all equipment for damage or moisture before packing
- Review weather conditions and adjust gear accordingly
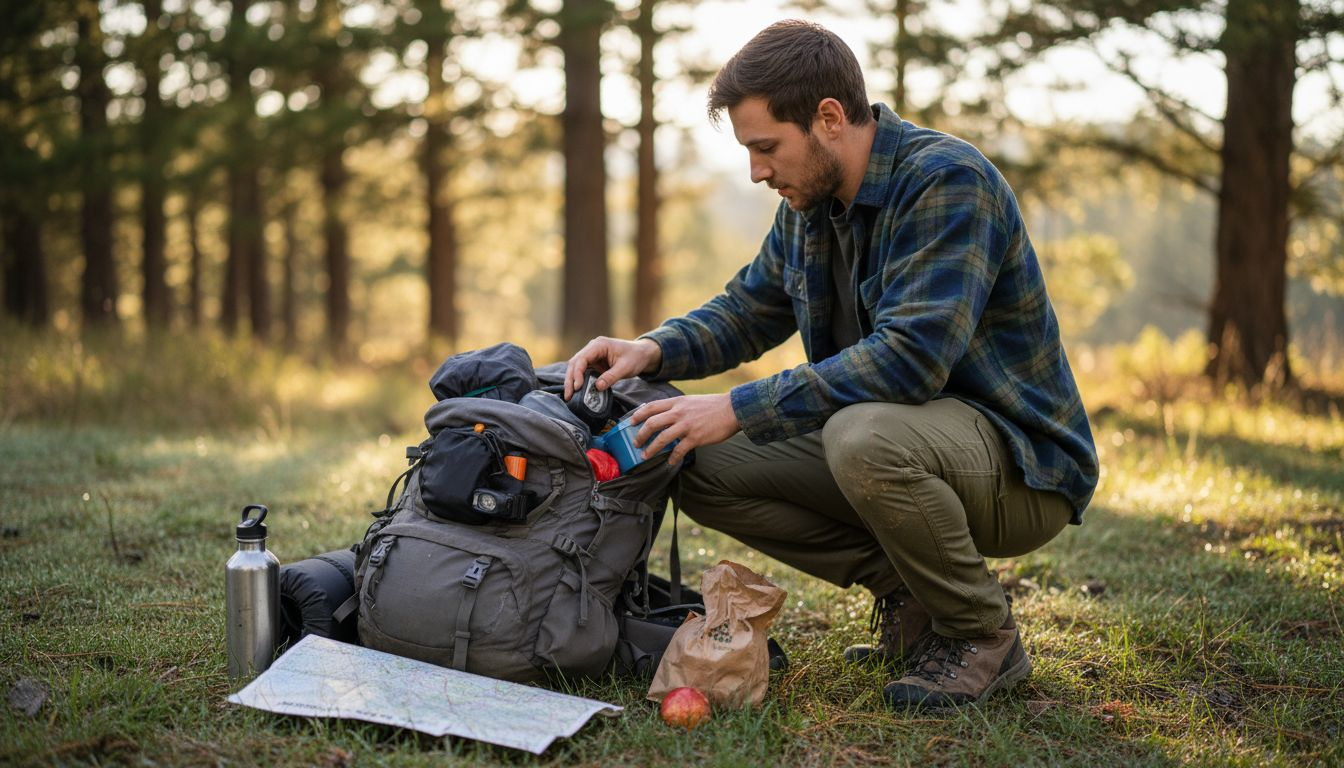
Step 1: Lay Out and Categorize Gear
Spread everything on the floor or a tarp so you can see what you have. This prevents the common mistake of packing items twice or forgetting something critical. Organize gear into clear categories: shelter, sleep system, food and water, clothing, cooking equipment, and emergency supplies.
Separate essentials from optional items based on your specific trip. A summer overnight hike needs less clothing than a fall weekend in the mountains. Be honest about what you actually need versus what feels comfortable to bring.
Inspect each piece as you sort it. Check tent stakes for bends, sleeping pad valves for leaks, and food bags for tears. This takes five minutes but saves hours of frustration later. Transparent stuff sacks let you identify contents without opening them.
Pro tip: Label each stuff sack with bright tape or permanent marker. When you need your rain jacket fast, color coding beats digging through identical gray bags. These essential packing tips become second nature after a few trips.
- Group gear by function: shelter, sleep, food, clothing, cooking, emergency
- Identify trip-specific essentials versus nice-to-have items
- Inspect every piece for damage, moisture, or missing parts
- Use transparent or labeled stuff sacks for quick identification
- Place optional gear aside and pack only what your trip truly requires
Step 2: Prioritize and Organize Gear Inside Your Backpack
Now you know what you are bringing, so think about when you will need each item. Your sleeping bag goes in first because you only need it at camp. Heavy items like your tent body and food bag belong near your spine at mid-back height for optimal weight distribution.
Infrequently used gear fills the bottom and outside sections of your pack. Stuff your sleeping bag deep in the main compartment since you won't touch it until evening. Pack your tent fly and poles along the sides where they balance the load.
Reserve top compartments and side pockets for items you grab during the hike. Snacks, water bottles, rain gear, first aid, and maps need quick access without removing your pack. Nothing frustrates hikers more than unpacking half their gear to find a granola bar.
- Pack sleeping bag and rarely used items at the bottom of the main compartment
- Place heavy gear like food bags and tent body near your spine at shoulder blade height
- Fill side spaces with medium weight items like clothing and cooking gear
- Store frequently accessed items in top pocket and side mesh pockets
- Keep emergency supplies in an exterior pocket for instant access
Pro tip: Color code your stuff sacks so you can spot what you need instantly. Red for first aid, blue for cooking, green for clothing. Understanding essential camping gear types helps you prioritize better.
Step 3: Weight Distribution and Placement Principles
Where you put weight matters more than how much weight you carry. Heavy items need to sit close to your spine between your shoulder blades and waist. This keeps the center of gravity over your hips where your strongest muscles can handle the load.
Balance weight evenly from left to right. An off-center pack pulls you sideways with every step, causing fatigue and increasing fall risk on uneven terrain. Check balance by lifting your packed bag. It should not lean to either side.
Never place heavy gear at the very bottom or far from your back panel. Low weight pulls you backward and forces you to lean forward to compensate. This strains your lower back and shoulders within the first mile.
"Placing heavy items too low or away from the spine causes over 60% of hiking-related pain according to trail medicine studies."
Applying proper weight placement transforms your hiking experience. Small adjustments prevent the chronic pain that makes people quit backpacking. These backpacking comfort tips focus on the same core principles.
- Position heaviest gear near your spine at shoulder blade height
- Distribute weight evenly on both sides to prevent lateral pulling
- Avoid placing heavy items at pack bottom or far from back panel
- Keep center of gravity directly over your hips for natural posture
- Test balance by lifting the pack before you hit the trail
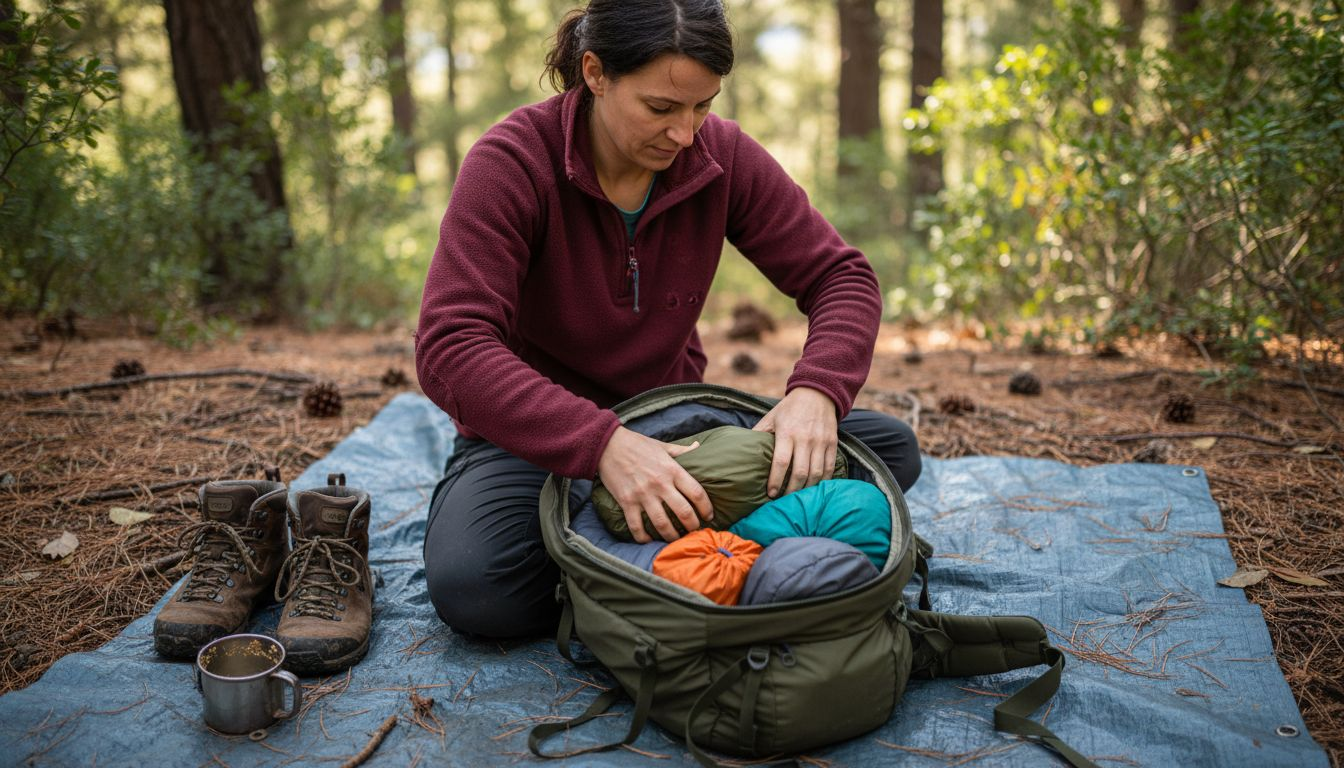
Step 4: Packing Techniques and Space Optimization
Compression makes a massive difference in how much fits in your pack. Compression sacks reduce sleeping bag volume by 40-50%, freeing space for other essentials. Roll clothing tightly instead of folding to eliminate air pockets and maximize every cubic inch.
Waterproofing protects your gear investment and keeps you comfortable. Use waterproof stuff sacks or pack liners for clothing, sleeping bags, and electronics. Test all closures before your trip. A soaked sleeping bag at 8,000 feet becomes a safety issue fast.
Fill empty spaces with small items like socks, fuel canisters, or repair kits. This prevents gear from shifting during your hike. A stable pack feels lighter and causes less fatigue than one where everything bounces around.
| Packing Method | Volume Used | Weight | Access Speed |
|---|---|---|---|
| No compression | 65L | 32 lbs | Fast |
| With compression | 45L | 32 lbs | Medium |
| Compression + organization | 42L | 30 lbs | Fast |
- Compress sleeping bags and puffy jackets first to create core pack volume
- Wrap waterproof stuff sacks around compressed items for protection
- Nestle cooking gear and hard items in spaces between soft gear
- Fill remaining voids with clothing or small accessories
- Secure everything so nothing shifts when you move
Pro tip: Pack heavy items first, then compress softer gear around them for a stable, compact load. Smart meal prep for backpacking also reduces weight and volume.
Step 5: Accessibility, Final Adjustments and Fit
Accessibility determines whether you enjoy your hike or spend it frustrated. Items you use multiple times per day belong in exterior pockets. Water bottles, snacks, sunscreen, and your map need to be within reach without removing your pack.
Your hip belt should carry 60-80% of the pack weight once properly adjusted. Loosen all straps, put the pack on, then tighten the hip belt first. It should sit on your hip bones, not your waist. Your shoulders should barely feel the weight.
Tighten shoulder straps just enough to pull the pack against your back without creating pressure points. Use the chest strap to prevent shoulder straps from sliding outward. Adjust load lifter straps at 45-degree angles to stabilize the top of your pack.
Burying daily use items deep in your main compartment wastes time and energy. Every time you stop to dig through your pack, you lose momentum and cool down. Smart placement keeps you moving efficiently. Knowing how to pack survival gear follows the same accessibility logic.
- Place water, snacks, and rain gear in side and top pockets
- Adjust hip belt first to transfer 60-80% of weight to your hips
- Tighten shoulder straps to stabilize without creating pressure
- Use chest strap to prevent shoulder strap slippage
- Adjust load lifters at 45-degree angles for upper pack stability
Common Backpack Packing Mistakes to Avoid and Fixes
Overpacking tops the list of beginner mistakes. Bringing "just in case" items adds pounds that drain your energy. Use your checklist ruthlessly. If you have not used an item on your last three trips, leave it home.
Placing heavy gear too low makes you lean forward to compensate. This strains your back and kills your posture. Move weight up near your shoulder blades where your body naturally balances it. The fix takes two minutes and transforms your comfort.
Skipping waterproofing seems fine until rain soaks your gear. A wet sleeping bag loses insulation value and adds weight. Invest in quality dry bags or pack liners. Test them at home by submerging them in a bathtub.
Poor weight distribution creates side-to-side imbalance that pulls you off trail. Audit your pack by feeling both sides. They should have equal bulk and weight. Reorganize until you can lift the pack without it leaning. Learning from ultralight camping principles helps you cut unnecessary weight.
- Stick to your checklist and eliminate "just in case" items that add dead weight
- Reposition heavy items near spine at shoulder height to improve balance
- Waterproof all moisture-sensitive gear before packing
- Check left-right balance before leaving and adjust as needed
- Do a test hike around your neighborhood to identify problems early
Alternative Packing Approaches and Their Tradeoffs
Framed backpacks offer superior load distribution and work best for heavy loads over 30 pounds. The internal or external frame transfers weight to your hips efficiently. The tradeoff is extra weight from the frame itself and reduced packability when traveling.
Frameless ultralight packs weigh under two pounds and compress into carry-on luggage. They excel for minimalist trips under 20 pounds but lack support on rough terrain. Your back does all the work without a frame to distribute the load.
Minimalist packing cuts weight dramatically but requires experience to know what you can safely omit. Beginners often miss critical items and face dangerous situations. Start with a full kit and gradually reduce as you learn what you actually use.
External gear attachments increase capacity without buying a bigger pack. Strapping your tent, sleeping pad, or trekking poles outside frees interior space. This affects balance and snags on brush, so use external attachment points thoughtfully.
| Pack Type | Pros | Cons | Best For |
|---|---|---|---|
| Framed internal | Excellent support, stable | Heavier, bulkier | Loads over 30 lbs, rough terrain |
| Frameless | Ultra-light, packable | Less support, limited capacity | Experienced hikers, under 20 lbs |
| External frame | Max load capacity, ventilation | Heaviest, catches on obstacles | Heavy gear, extended trips |
| Hybrid | Balanced weight and support | Moderate in all areas | Weekend trips, variable terrain |
Choosing the right approach depends on your experience and trip requirements. When you plan a backpacking trip, match your pack style to your destination.
Expected Outcomes and Benefits of Efficient Backpack Packing
Proper packing delivers measurable improvements that make backpacking more enjoyable. You will hike longer distances with less fatigue because balanced weight requires less compensatory muscle effort. Studies show efficient packing cuts hiking exhaustion by up to 30% compared to random loading.
Back and shoulder pain drops by 60% when you position heavy items correctly near your spine. This lets you focus on the trail and scenery instead of discomfort. You will finish hikes feeling energized rather than destroyed.
Using systematic checklists prevents 70% of forgotten essentials according to outdoor recreation research. No more discovering you left your stove fuel at home. Everything you need arrives with you because you verified it before leaving.
Quick access to important gear improves safety and convenience. When weather changes fast, grabbing your rain jacket from an exterior pocket beats unpacking your entire bag in the rain. Smart organization saves time and reduces stress on the trail. A solid hiking essentials list complements your packing system.
- Reduce hiking fatigue by 30% through balanced weight distribution
- Cut back and shoulder pain by 60% with proper heavy item placement
- Prevent 70% of forgotten items using systematic packing checklists
- Access critical gear instantly from exterior pockets during emergencies
- Increase hiking endurance and enjoyment by maintaining natural posture
Upgrade Your Outdoor Adventures with the Right Gear
Efficient packing only works when you have quality gear designed for the trail. Life Camp Adventure offers carefully selected camping equipment built for comfort, durability, and real-world use. Whether you need a reliable tent, a properly sized backpack, or essential survival tools, the right gear makes every trip better. Explore essential camping gear types to understand what belongs in your kit.
Compare top options in our best camping gear 2025 guide to find equipment that matches your hiking style. Find the perfect shelter by reviewing our detailed camping tents compared to see which features matter most for your adventures.
How to Pack a Backpack FAQ
What is the ideal backpack weight relative to body weight?
Your pack should weigh 20-25% of your body weight for comfortable hiking. A 160-pound person should target a 32-40 pound pack maximum. Exceeding 25% increases injury risk and fatigue.
How often should I adjust my pack straps during a hike?
Adjust straps whenever you feel discomfort or notice the pack shifting. Most hikers benefit from small adjustments every hour or at water breaks. Proper fit prevents hot spots and maintains balance throughout your hike.
Can I pack everything in one compartment?
Using multiple compartments and pockets improves weight distribution and accessibility. Single compartment packing makes finding items difficult and prevents proper organization. Dedicated sections for different gear types keep your pack balanced and functional.
How do I keep my gear dry in rainy conditions?
Use waterproof stuff sacks or a pack liner to protect moisture-sensitive items like sleeping bags and clothing. Test all closures before your trip by submerging them in water. Even water-resistant packs need extra protection during heavy rain.
What items should I keep accessible during the hike?
Snacks, water, rain gear, first aid, maps, and sunscreen belong in top or side pockets for quick access. Emergency items should never require unpacking your main compartment. Smart placement prevents stops and keeps you moving efficiently on the trail.